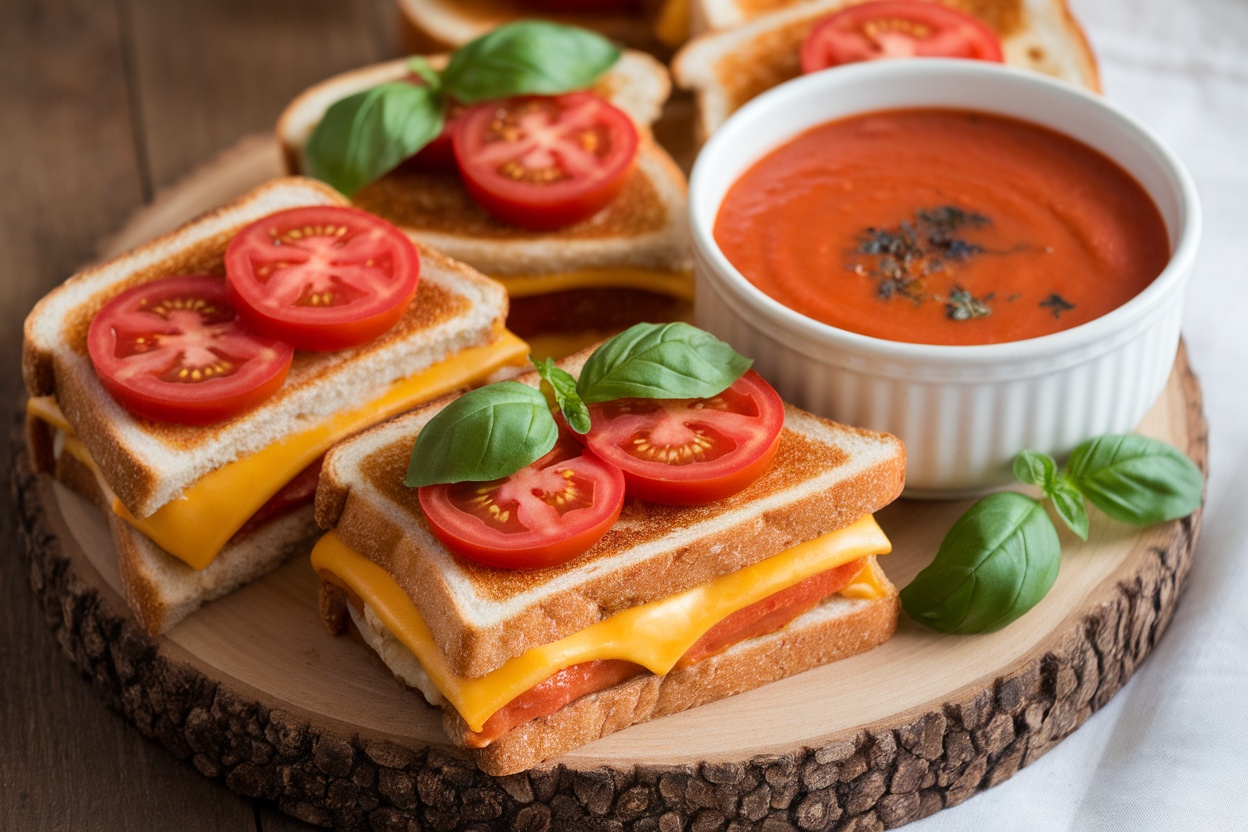
Finding meals that please picky eaters can be a challenge, especially during the busy summer months. This collection of 14 kid-friendly summer recipes offers a variety of delicious, easy-to-make options that will satisfy even the fussiest appetites. Each dish is designed to be fun, tasty, and perfect for enjoying the sunny season with family and friends.
Taco Cups with Ground Turkey
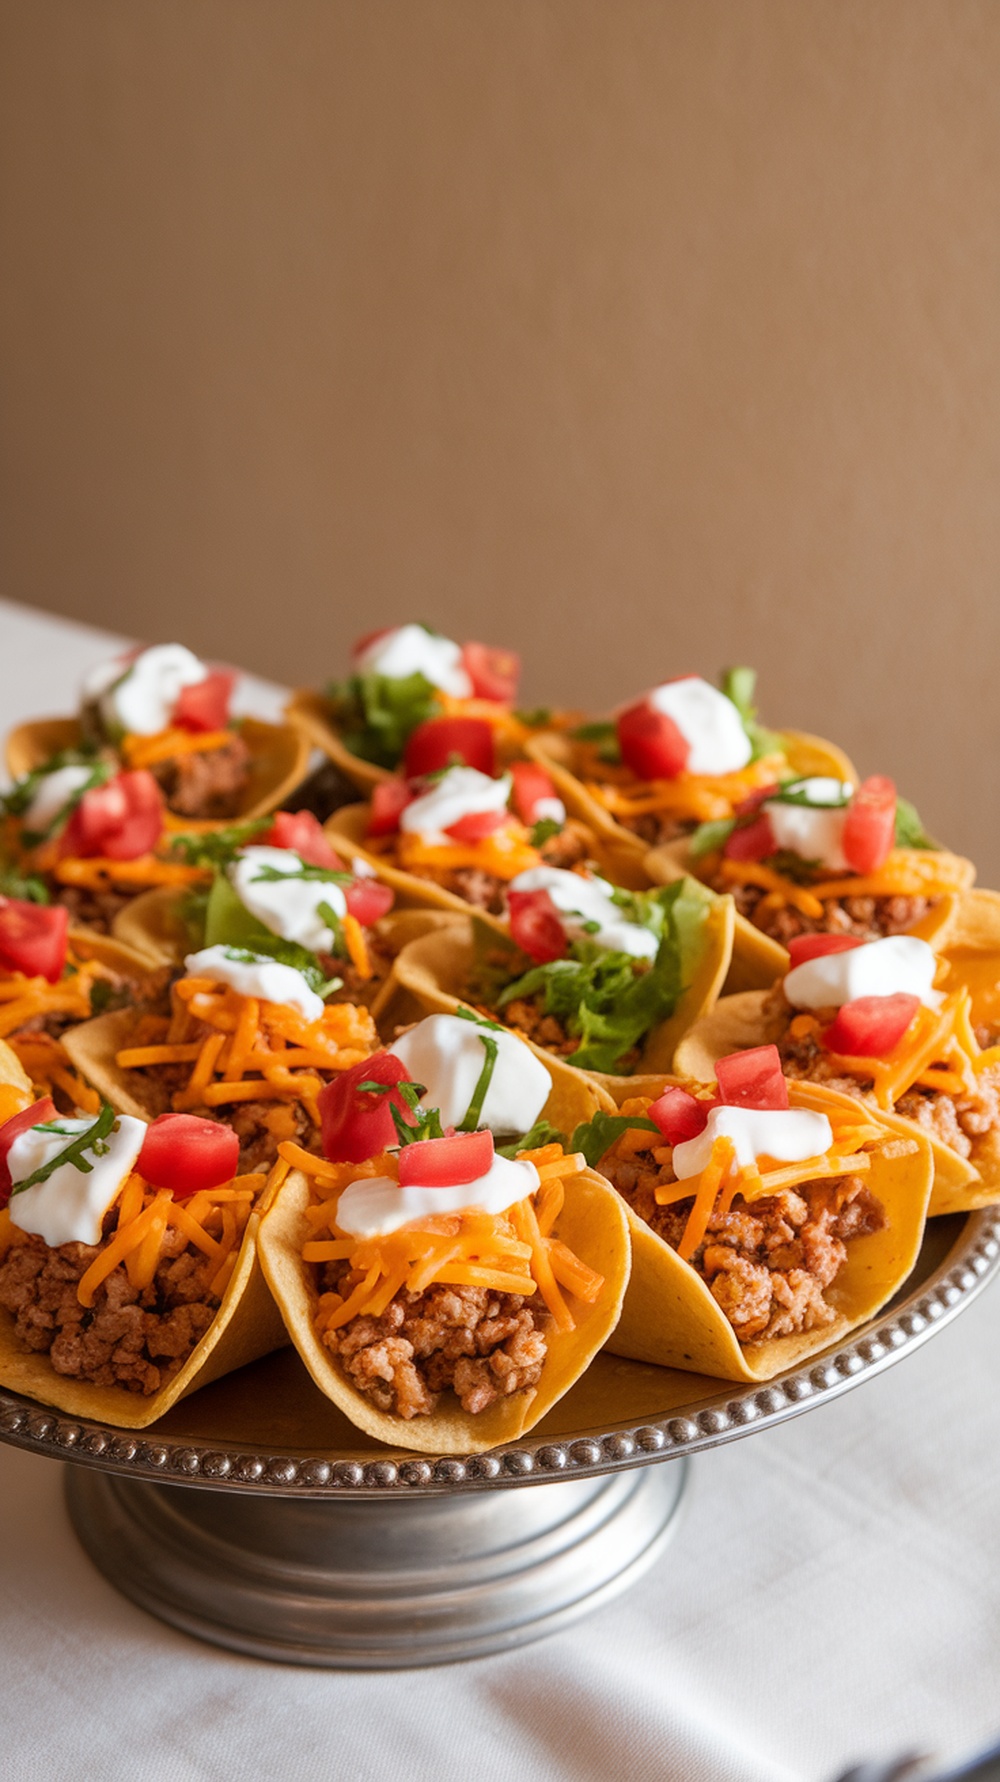
Taco cups are a fun and tasty way to enjoy a classic dish. They are perfect for kids, especially picky eaters. The image shows a beautiful platter filled with taco cups, each one loaded with ground turkey, cheese, and fresh toppings. The vibrant colors of the tomatoes and lettuce make them visually appealing, and the small size is just right for little hands.
These taco cups are not only easy to make but also allow kids to customize their own. You can set up a taco bar with various toppings, letting them choose what they want. This can make mealtime more exciting and encourage them to try new ingredients.
Here’s how to make these delicious taco cups:
Ingredients
- 1 pound ground turkey
- 1 packet taco seasoning
- 12 small taco shells
- 1 cup shredded cheddar cheese
- 1 cup lettuce, shredded
- 1 cup diced tomatoes
- 1/2 cup sour cream
- 1/4 cup chopped cilantro (optional)
Instructions
- Preheat your oven to 350°F (175°C).
- In a skillet, cook the ground turkey over medium heat until browned. Drain any excess fat.
- Add the taco seasoning and follow the package instructions, usually adding water and simmering for a few minutes.
- Place the taco shells in a baking dish. Fill each shell with the cooked turkey mixture.
- Sprinkle shredded cheese on top of each taco cup.
- Bake in the oven for about 10-12 minutes, or until the cheese is melted and bubbly.
- Remove from the oven and let cool slightly. Top with lettuce, tomatoes, sour cream, and cilantro if desired.
- Serve warm and enjoy!
Fruit and Nut Butter Sandwiches
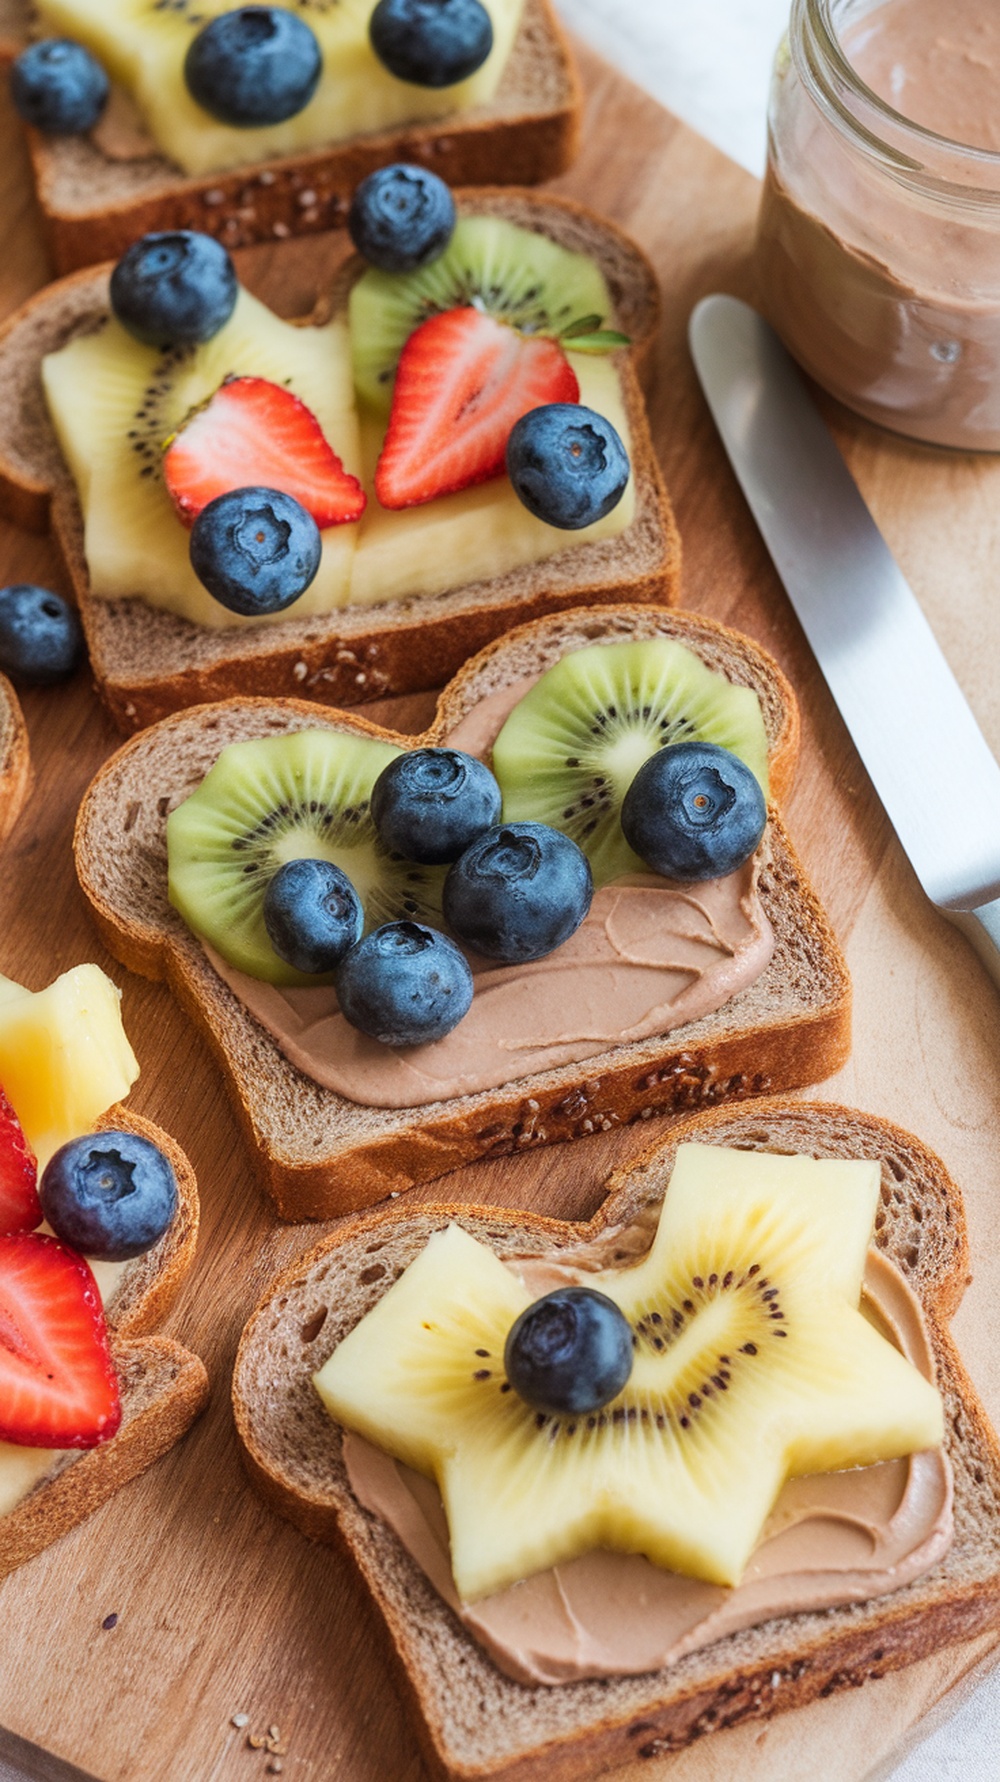
Fruit and nut butter sandwiches are a fun and healthy treat for kids, especially during the summer. These colorful creations are not only easy to make, but they also allow kids to get creative with their food. The image shows slices of bread topped with creamy nut butter and a variety of fresh fruits like strawberries, blueberries, and kiwi. Each sandwich is a little work of art!
To make these sandwiches, simply spread your favorite nut butter on whole grain bread. Then, let your kids choose their favorite fruits to add on top. They can mix and match to create fun shapes and designs. This not only makes the meal visually appealing but also encourages kids to try different fruits.
These sandwiches are perfect for lunch, snacks, or even a light breakfast. They are packed with nutrients and energy, making them a great choice for active kids. Plus, they are easy to prepare, so you can whip them up in no time!
Ingredients
- 4 slices of whole grain bread
- 1/2 cup nut butter (peanut, almond, or sunflower)
- 1 banana, sliced
- 1 kiwi, sliced
- 1/2 cup strawberries, sliced
- 1/2 cup blueberries
Instructions
- Spread a generous layer of nut butter on each slice of bread.
- Arrange the sliced banana, kiwi, strawberries, and blueberries on top of the nut butter.
- Get creative! Use the fruits to make fun shapes or patterns.
- Serve immediately and enjoy your colorful fruit and nut butter sandwiches!
Cheesy Cauliflower Tots
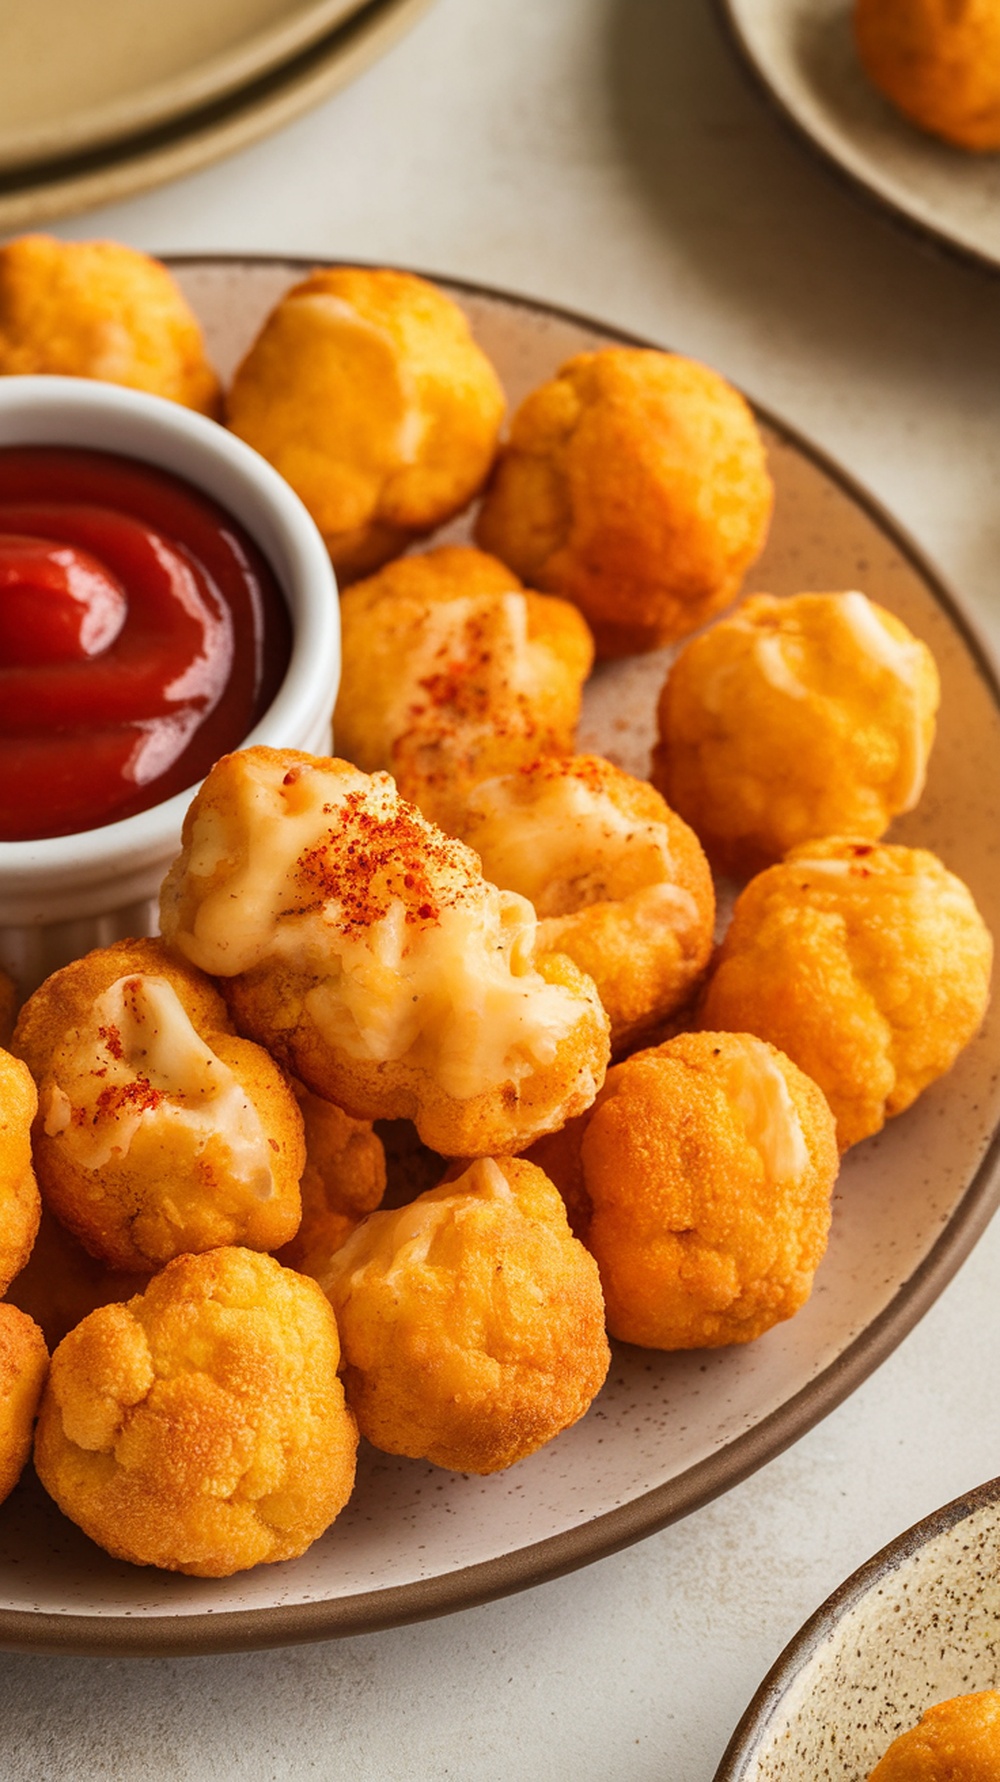
Cheesy cauliflower tots are a fun and tasty way to sneak some veggies into your kids’ meals. These little bites are golden and crispy on the outside, with a gooey cheese center that even picky eaters will love. They make for a perfect snack or side dish during the summer.
In the image, you can see a plate filled with these delightful tots, served with a side of ketchup for dipping. The bright colors and appealing shape make them hard to resist! Kids will enjoy picking them up and dipping them into the sauce, making mealtime more interactive.
Making cheesy cauliflower tots is simple and requires just a few ingredients. They are baked, not fried, which keeps them healthier while still being delicious. You can even get the kids involved in the kitchen, letting them help mix and shape the tots.
Ingredients
- 1 medium head of cauliflower, chopped
- 1 cup shredded cheese (cheddar or mozzarella)
- 1/2 cup breadcrumbs
- 2 large eggs
- 1 teaspoon garlic powder
- 1 teaspoon onion powder
- Salt and pepper to taste
Instructions
- Preheat your oven to 400°F (200°C) and line a baking sheet with parchment paper.
- Steam the chopped cauliflower until tender, about 5-7 minutes. Drain and let it cool slightly.
- In a large bowl, mash the cauliflower until smooth. Stir in the cheese, breadcrumbs, eggs, garlic powder, onion powder, salt, and pepper until well combined.
- Using your hands, form small balls or tots and place them on the prepared baking sheet.
- Bake for 20-25 minutes, or until golden brown and crispy. Serve warm with your favorite dipping sauce.
Mini Pita Pizzas with Fun Toppings
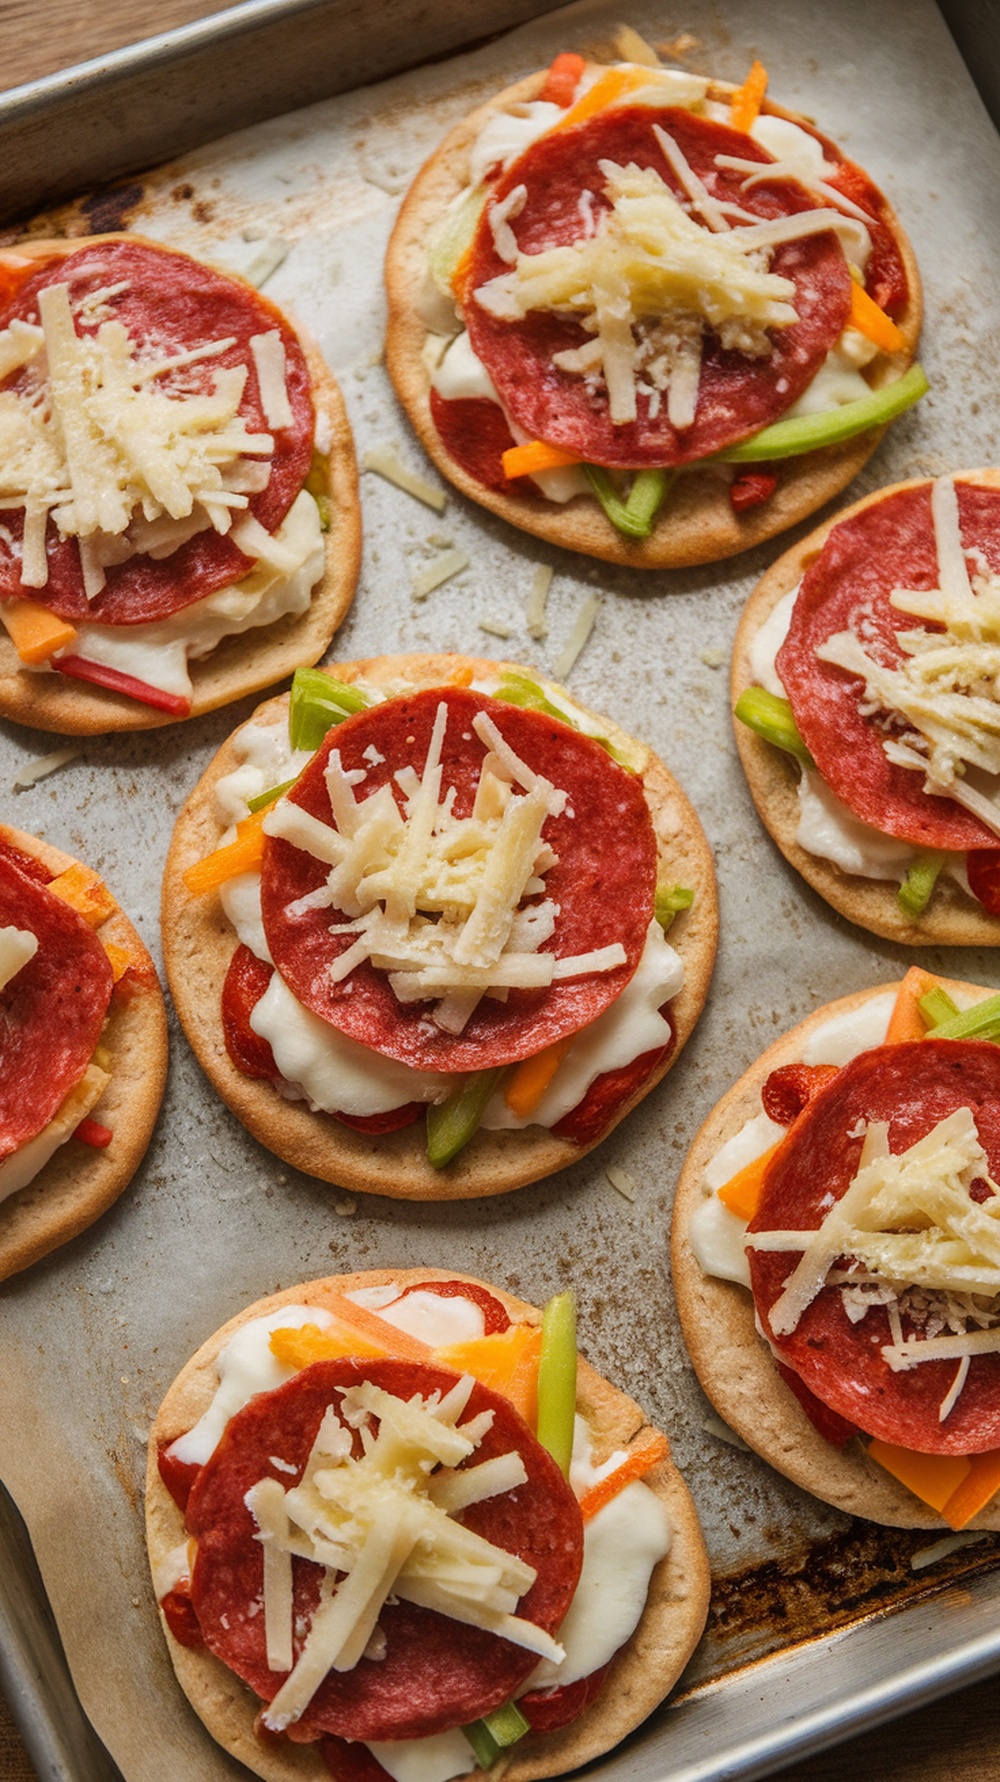
Mini pita pizzas are a fantastic way to get kids involved in the kitchen. They can choose their own toppings, making it a fun and interactive meal. These little pizzas are not only easy to make but also customizable, catering to even the pickiest eaters.
The image shows a tray of mini pita pizzas topped with colorful veggies, pepperoni, and a sprinkle of cheese. The vibrant colors make them visually appealing, and the variety of toppings means there’s something for everyone. Kids love to personalize their pizzas, whether they prefer classic pepperoni or a mix of veggies.
To make these mini pita pizzas, you’ll need some simple ingredients. Gather pita bread, pizza sauce, cheese, and a selection of toppings. You can use anything from sliced bell peppers to olives, or even pineapple for those who like a sweet twist!
Ingredients
- 4 mini pita breads
- 1/2 cup pizza sauce
- 1 cup shredded mozzarella cheese
- 1/2 cup sliced pepperoni
- 1/2 cup diced bell peppers (any color)
- 1/4 cup sliced olives (optional)
- 1/4 cup grated Parmesan cheese
Instructions
- Preheat your oven to 400°F (200°C).
- Place the mini pita breads on a baking sheet.
- Spread a tablespoon of pizza sauce on each pita.
- Sprinkle mozzarella cheese over the sauce.
- Add your favorite toppings, like pepperoni and bell peppers.
- Top with a sprinkle of Parmesan cheese.
- Bake in the oven for about 10-12 minutes, or until the cheese is melted and bubbly.
- Let cool for a minute, then serve and enjoy!
Banana Oatmeal Pancakes
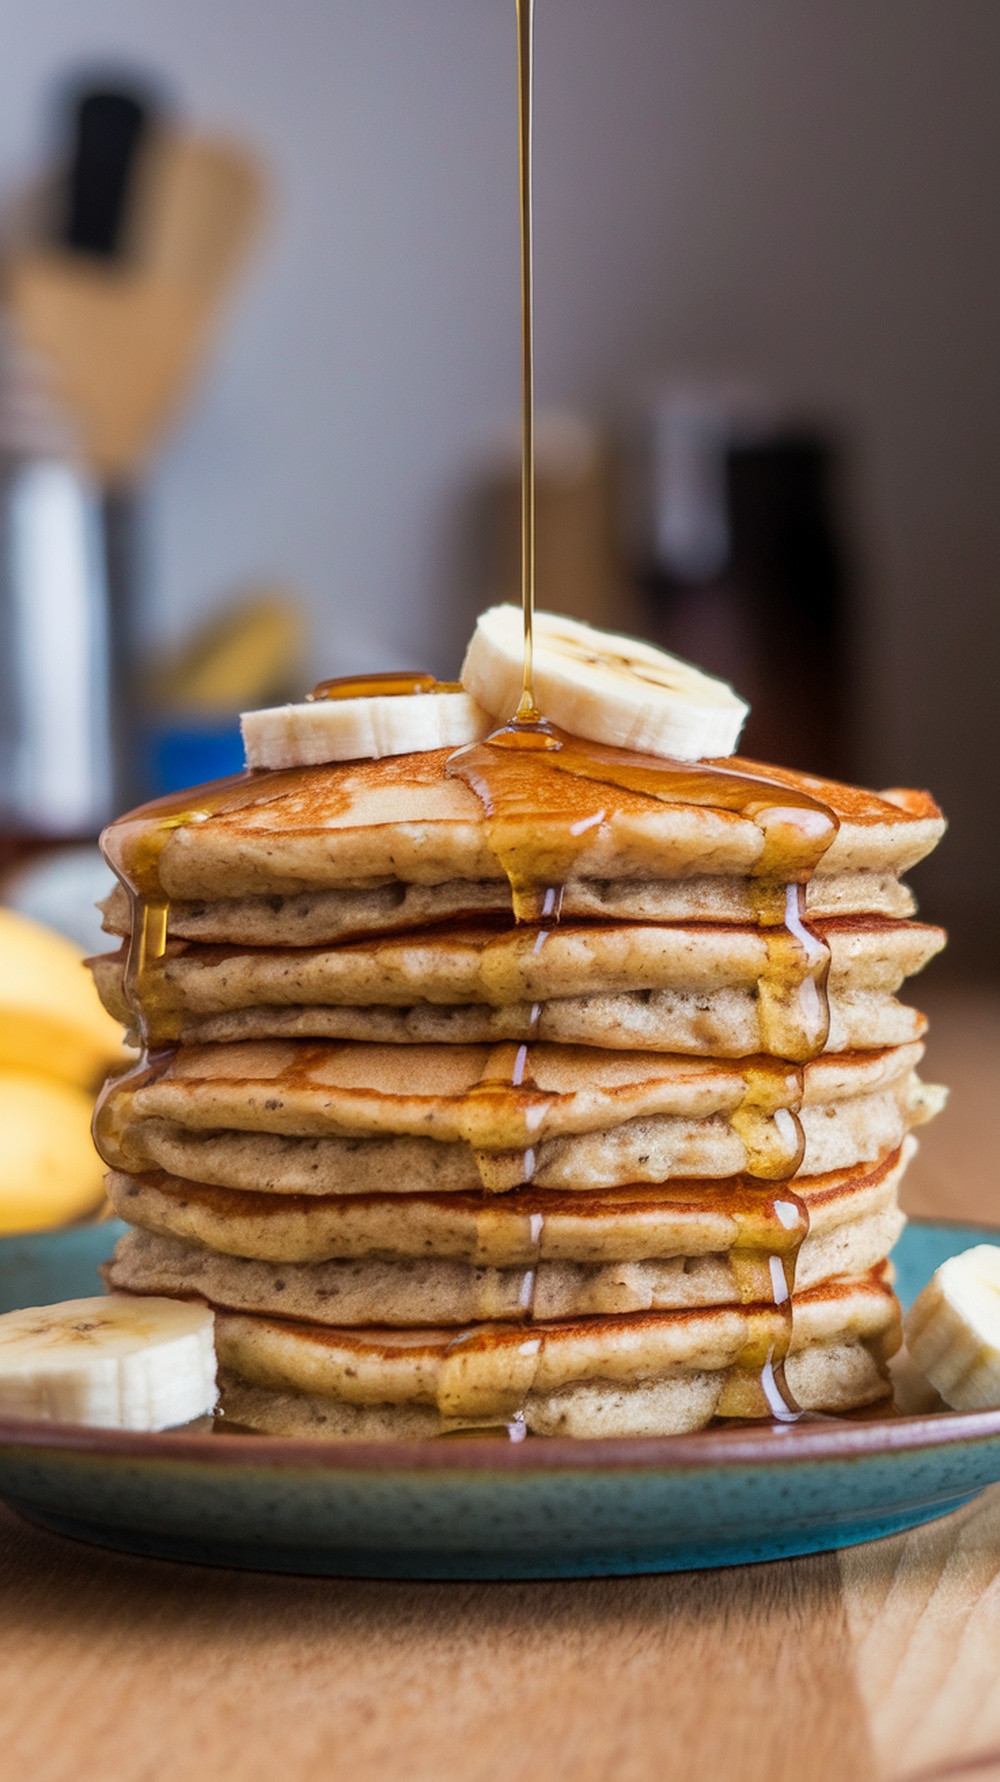
Banana oatmeal pancakes are a fantastic way to start your day. They are fluffy, delicious, and packed with nutrients. The best part? Kids love them! These pancakes are a great option for picky eaters, as the banana adds natural sweetness without any added sugar.
In the image, you can see a tall stack of golden-brown pancakes drizzled with syrup and topped with fresh banana slices. The warm syrup glistens, making the pancakes look even more inviting. This dish is perfect for a summer breakfast or brunch, and it’s easy to whip up.
To make these pancakes, you’ll need some simple ingredients. The combination of oats and bananas creates a hearty texture that keeps everyone satisfied. Plus, they are quick to prepare, making them a great choice for busy mornings.
Ingredients
- 1 cup rolled oats
- 1 ripe banana
- 1 cup milk (or a dairy-free alternative)
- 1 teaspoon baking powder
- 1/2 teaspoon cinnamon
- 1/4 teaspoon salt
- 1 large egg
- 1 tablespoon honey or maple syrup (optional)
- Butter or oil for cooking
Instructions
- Blend the oats in a blender until they reach a flour-like consistency.
- Add the banana, milk, baking powder, cinnamon, salt, egg, and honey or maple syrup to the blender. Blend until smooth.
- Heat a non-stick skillet over medium heat and add a little butter or oil.
- Pour about 1/4 cup of batter onto the skillet for each pancake. Cook until bubbles form on the surface, then flip and cook until golden brown.
- Serve warm with extra banana slices and syrup on top.
Zucchini Noodles with Marinara Sauce
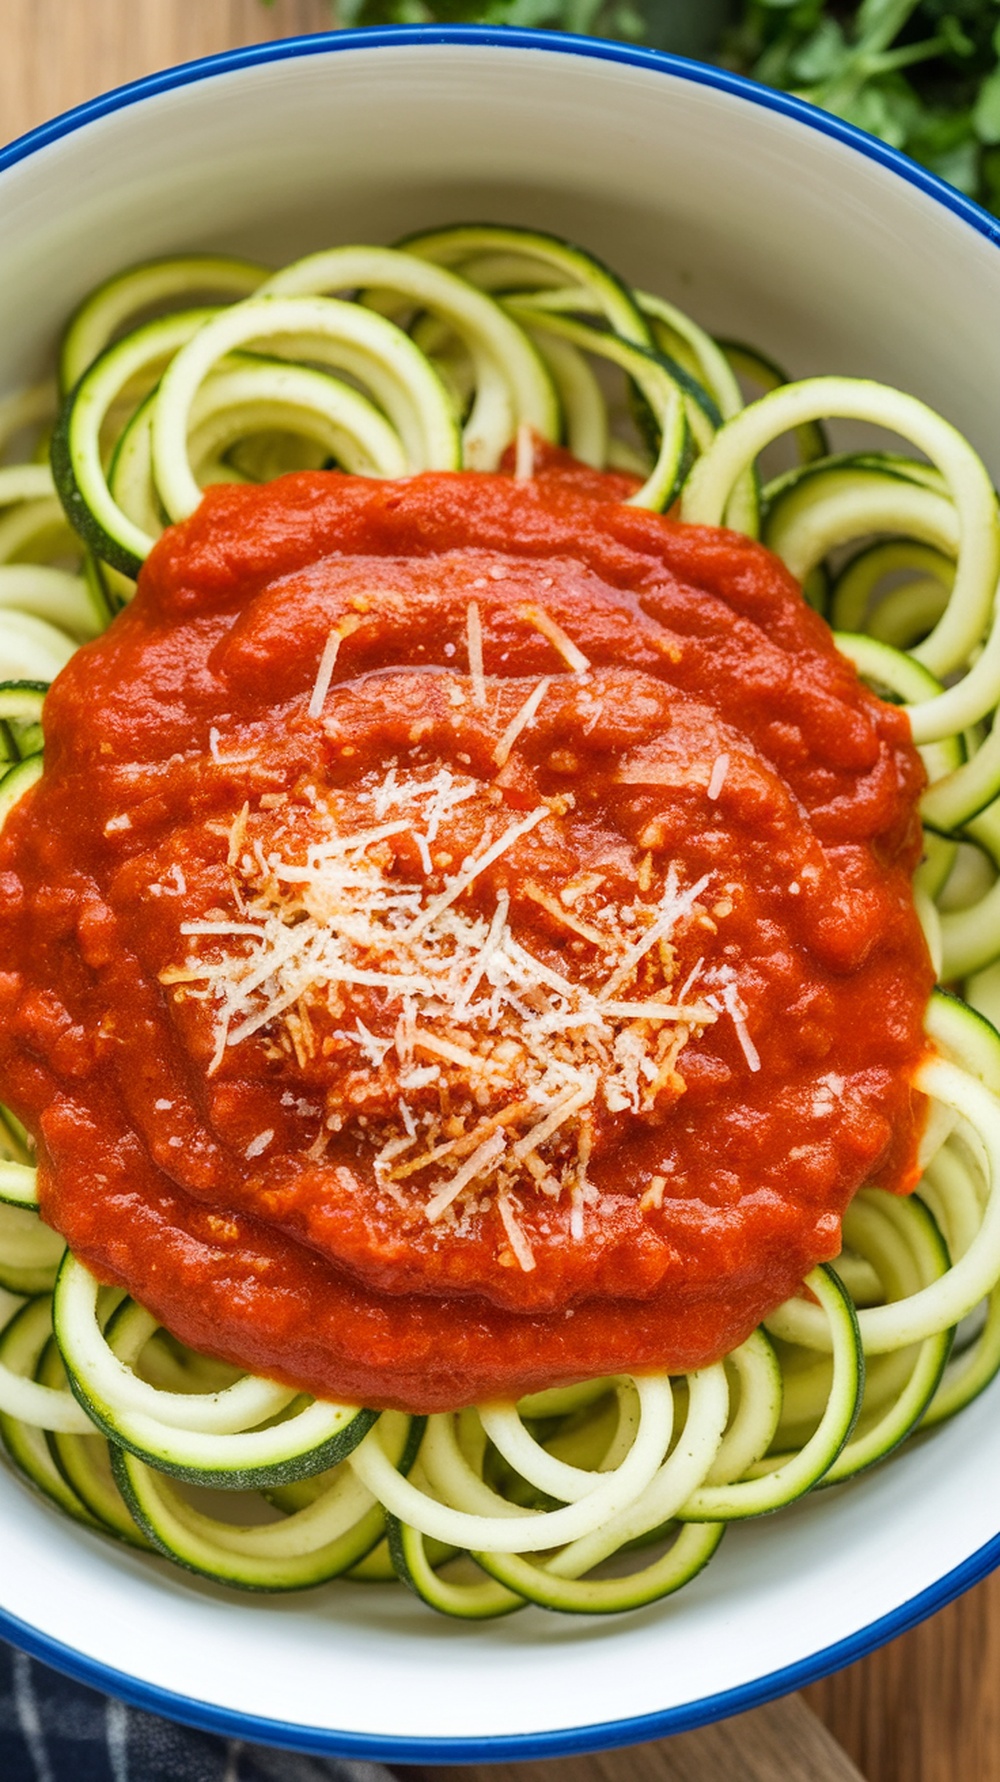
Summer is the perfect time to enjoy fresh, light meals, and zucchini noodles are a fantastic option. They are fun, colorful, and a great way to sneak in some veggies. Kids often love the twisty shape of zucchini noodles, making them more appealing than regular pasta.
In this dish, the zucchini noodles are topped with a rich marinara sauce. The bright red sauce contrasts beautifully with the green noodles, making it visually appealing. A sprinkle of cheese on top adds a nice finishing touch, making it even more tempting for picky eaters.
This recipe is not only easy to make but also quick, perfect for busy summer days. You can even involve your kids in the cooking process. Let them help spiralize the zucchini or sprinkle the cheese on top. Cooking together can make them more excited about eating their veggies!
Ingredients
- 4 medium zucchinis
- 2 cups marinara sauce
- 1 tablespoon olive oil
- 1/4 teaspoon salt
- 1/4 teaspoon black pepper
- 1/2 cup grated Parmesan cheese
Instructions
- Spiralize the Zucchini: Use a spiralizer to turn the zucchinis into noodles. If you don’t have a spiralizer, you can use a vegetable peeler to create thin strips.
- Cook the Zucchini: Heat olive oil in a large skillet over medium heat. Add the zucchini noodles and sauté for about 3-4 minutes until they are tender but still slightly crunchy. Season with salt and pepper.
- Add the Sauce: Pour the marinara sauce over the zucchini noodles. Stir gently to combine and heat through for another 2-3 minutes.
- Serve: Plate the zucchini noodles and top with grated Parmesan cheese. Enjoy your healthy and delicious meal!
Colorful Veggie Skewers with Dipping Sauce
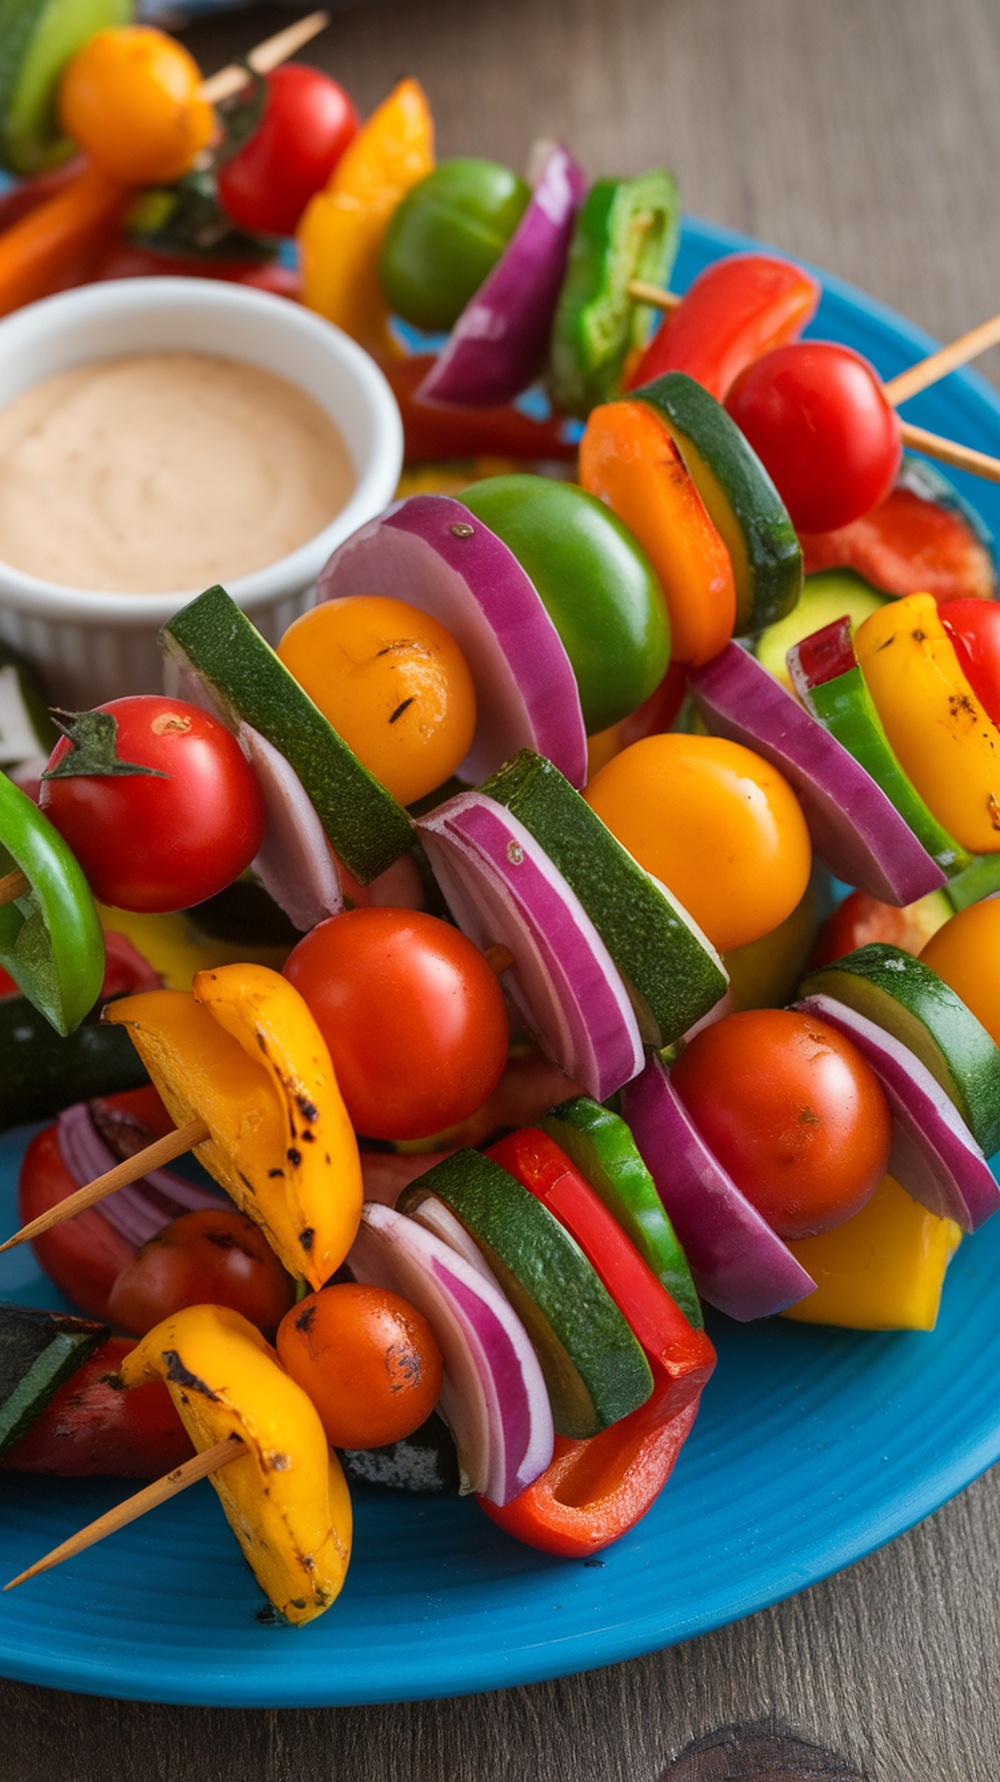
Veggie skewers are a fun and colorful way to get kids excited about eating vegetables. These skewers are packed with bright peppers, juicy tomatoes, and crunchy zucchini, making them visually appealing and tasty. The vibrant colors can make even the pickiest eaters curious enough to give them a try!
To prepare these skewers, simply thread your favorite vegetables onto wooden or metal skewers. You can use bell peppers in red, yellow, and green, cherry tomatoes, zucchini slices, and red onion for a nice crunch. Grill or roast them until they’re tender and slightly charred for extra flavor.
Pair these skewers with a delicious dipping sauce, like a creamy ranch or a tangy yogurt dip. This adds an extra layer of fun and flavor, encouraging kids to dip and munch away. It’s a great way to make veggies more appealing!
Ingredients
- 1 red bell pepper, cut into chunks
- 1 yellow bell pepper, cut into chunks
- 1 green bell pepper, cut into chunks
- 1 zucchini, sliced
- 1 red onion, cut into wedges
- 1 cup cherry tomatoes
- Olive oil
- Salt and pepper to taste
- Wooden or metal skewers
Instructions
- Preheat your grill or oven to medium-high heat.
- In a large bowl, toss the chopped vegetables with olive oil, salt, and pepper.
- Thread the vegetables onto the skewers, alternating colors for a fun look.
- Place the skewers on the grill or in the oven. Cook for about 10-15 minutes, turning occasionally, until the veggies are tender and slightly charred.
- Serve with your favorite dipping sauce and enjoy!
Frozen Yogurt Bark with Berries
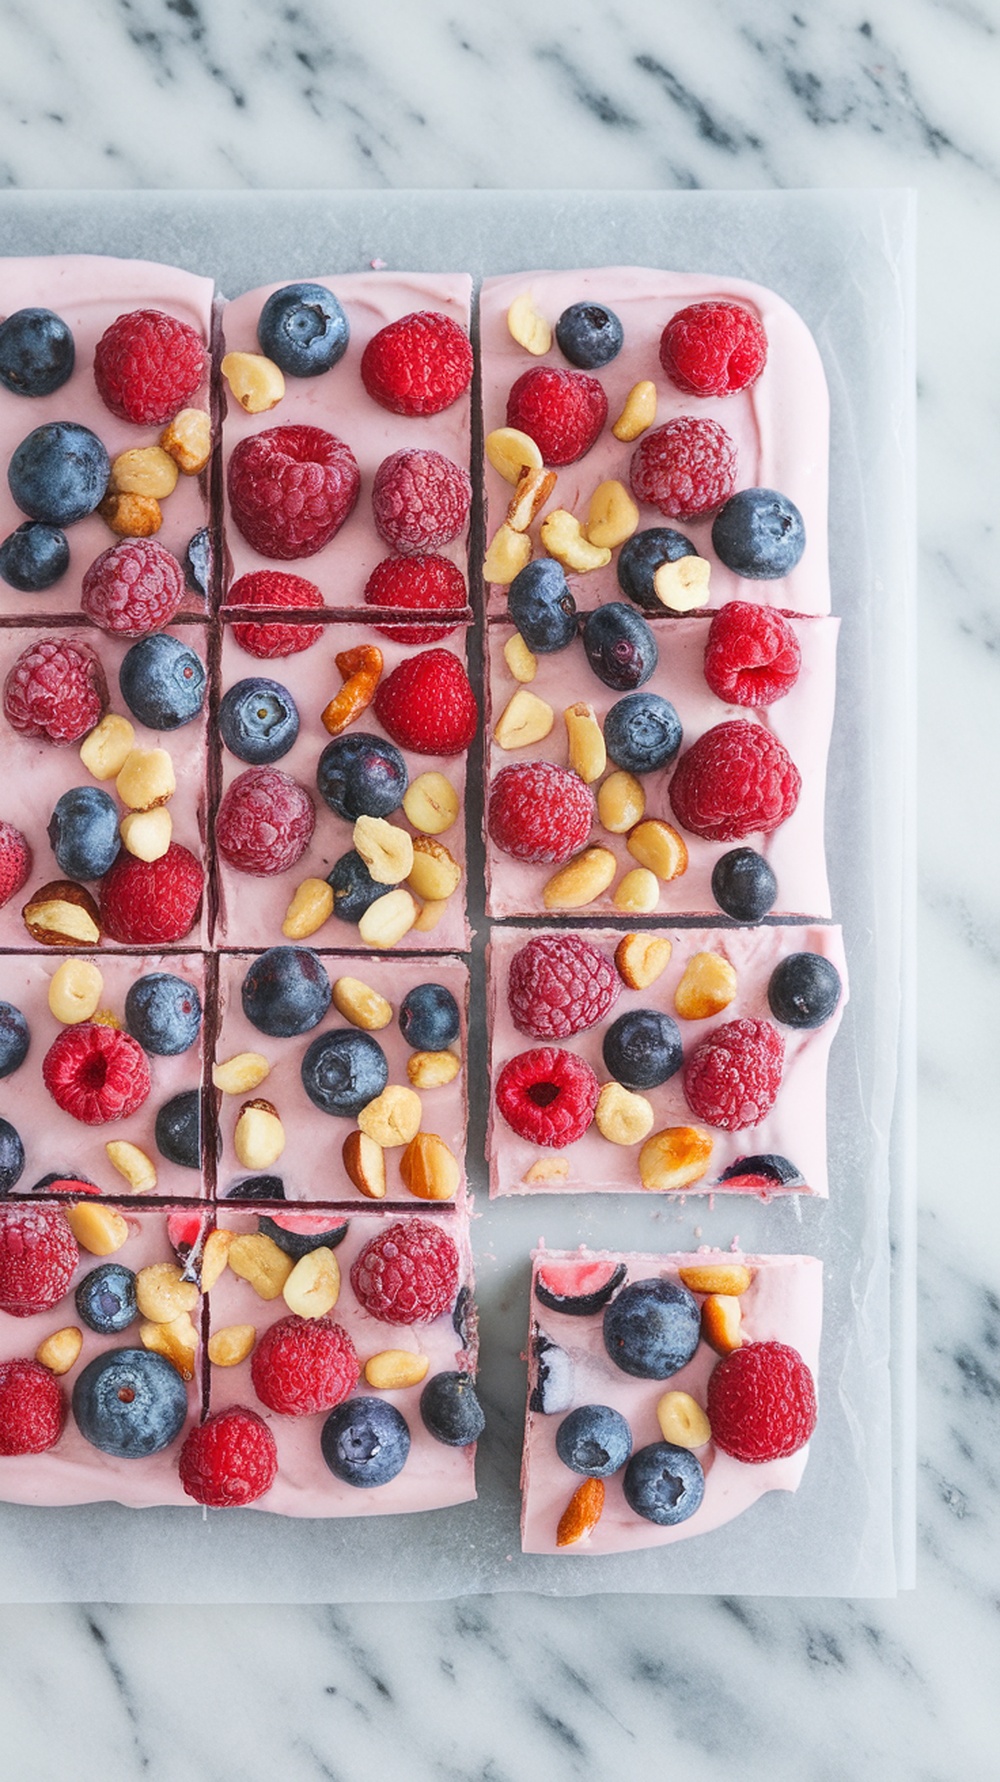
Frozen yogurt bark with berries is a fun and easy treat that kids will love. It’s colorful, tasty, and perfect for hot summer days. The image shows a delightful spread of yogurt bark topped with fresh raspberries, blueberries, and crunchy nuts. This snack is not only visually appealing but also packed with nutrients.
Making this yogurt bark is simple. You can customize it with your favorite fruits and toppings. It’s a great way to sneak in some healthy ingredients while keeping it fun for picky eaters. Plus, it’s a perfect activity to do with kids in the kitchen!
Here’s how to make your own frozen yogurt bark:
Ingredients
- 2 cups Greek yogurt
- 2 tablespoons honey or maple syrup
- 1 cup mixed berries (raspberries, blueberries, strawberries)
- 1/4 cup chopped nuts (almonds, walnuts, or peanuts)
- 1 teaspoon vanilla extract (optional)
Instructions
- Prepare the Yogurt Mixture: In a bowl, mix the Greek yogurt, honey, and vanilla extract until smooth.
- Spread the Yogurt: Line a baking sheet with parchment paper. Pour the yogurt mixture onto the sheet and spread it evenly to about 1/2 inch thick.
- Add Toppings: Sprinkle the mixed berries and chopped nuts over the yogurt.
- Freeze: Place the baking sheet in the freezer for about 3-4 hours or until the yogurt is completely frozen.
- Cut and Serve: Once frozen, remove the yogurt bark from the sheet and break it into pieces. Enjoy immediately or store in an airtight container in the freezer.
Baked Sweet Potato Fries
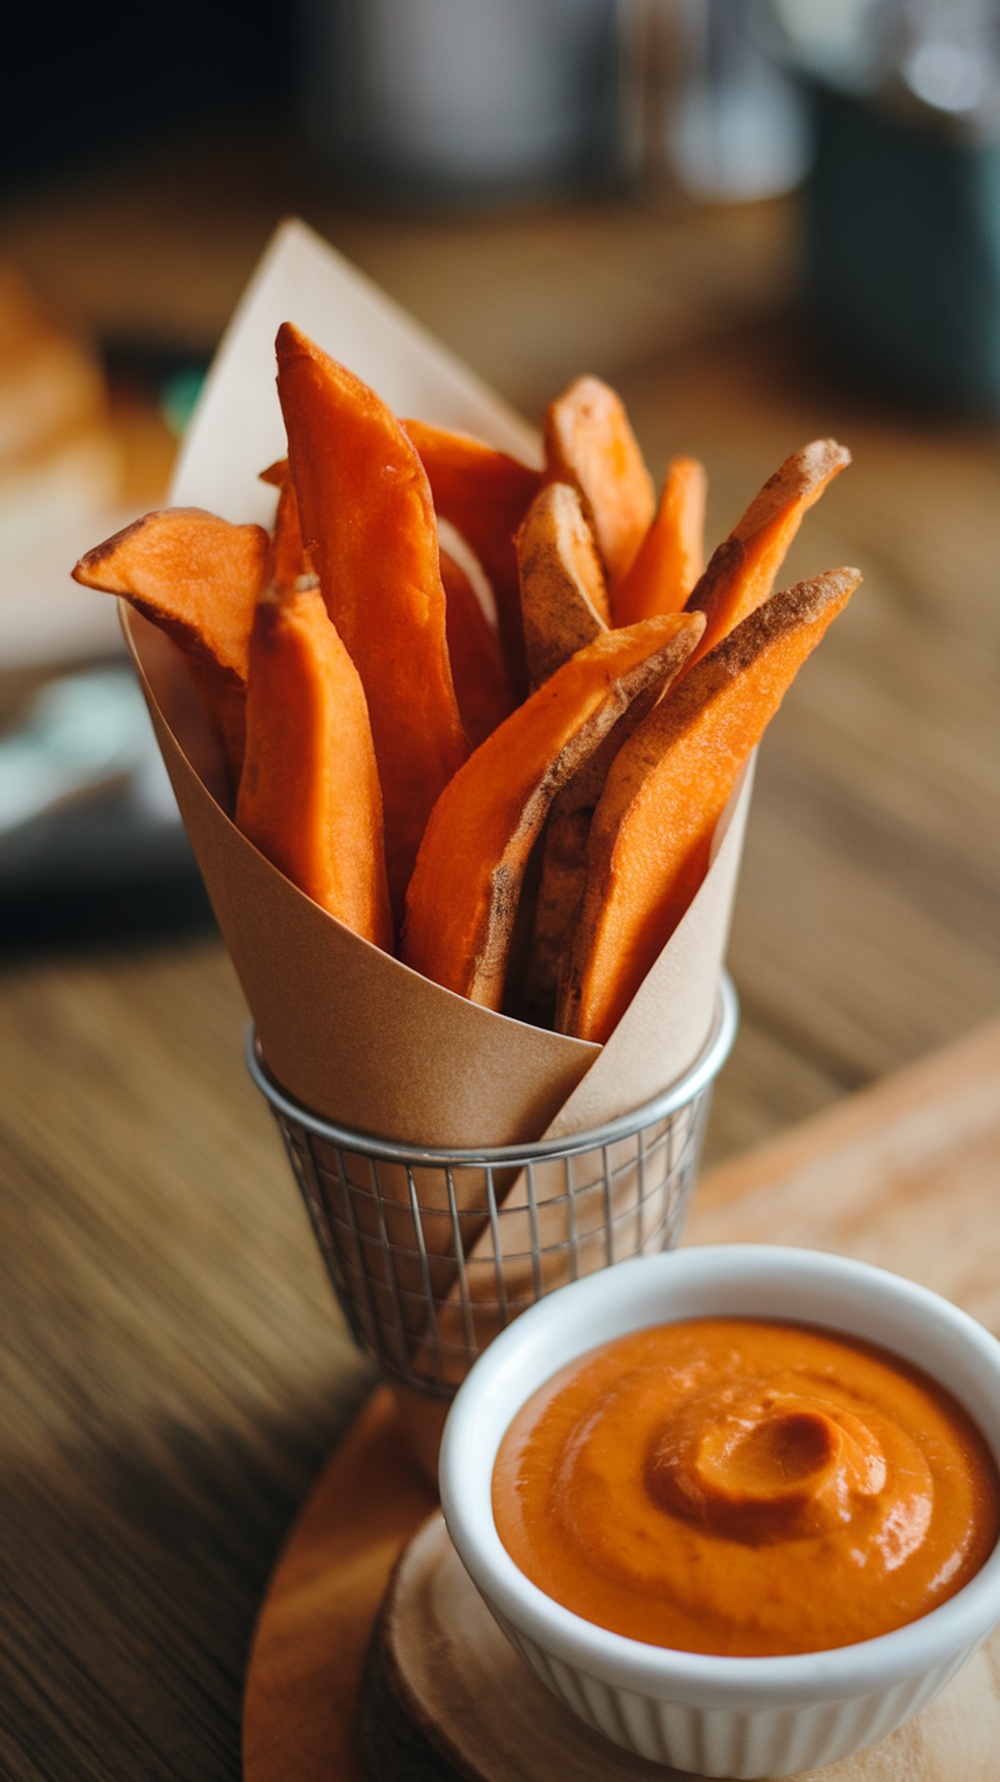
Baked sweet potato fries are a fun and healthy twist on a classic snack. These crispy treats are not only delicious but also packed with nutrients. Kids love their natural sweetness, and they’re a great way to sneak in some veggies. Plus, they pair perfectly with a variety of dips, making them even more appealing to picky eaters.
The image shows a delightful serving of baked sweet potato fries, beautifully arranged in a cone-shaped holder. The fries have a vibrant orange color, hinting at their rich flavor. Beside them, there’s a small bowl of dipping sauce, perfect for adding an extra kick to each bite. This presentation makes them look irresistible, and it’s sure to catch the attention of kids and adults alike!
Making baked sweet potato fries at home is easy and fun. You can involve the kids in the preparation, from cutting the sweet potatoes to seasoning them. It’s a great way to teach them about cooking while ensuring they eat something healthy.
Ingredients
- 2 large sweet potatoes
- 2 tablespoons olive oil
- 1 teaspoon paprika
- 1 teaspoon garlic powder
- Salt and pepper to taste
- Your favorite dipping sauce (like ketchup or ranch)
Instructions
- Preheat your oven to 425°F (220°C).
- Wash and peel the sweet potatoes. Cut them into thin, even strips.
- In a large bowl, toss the sweet potato strips with olive oil, paprika, garlic powder, salt, and pepper until evenly coated.
- Spread the fries in a single layer on a baking sheet lined with parchment paper.
- Bake for 25-30 minutes, flipping halfway through, until they are golden and crispy.
- Serve warm with your favorite dipping sauce.
Peanut Butter Banana Sushi Rolls
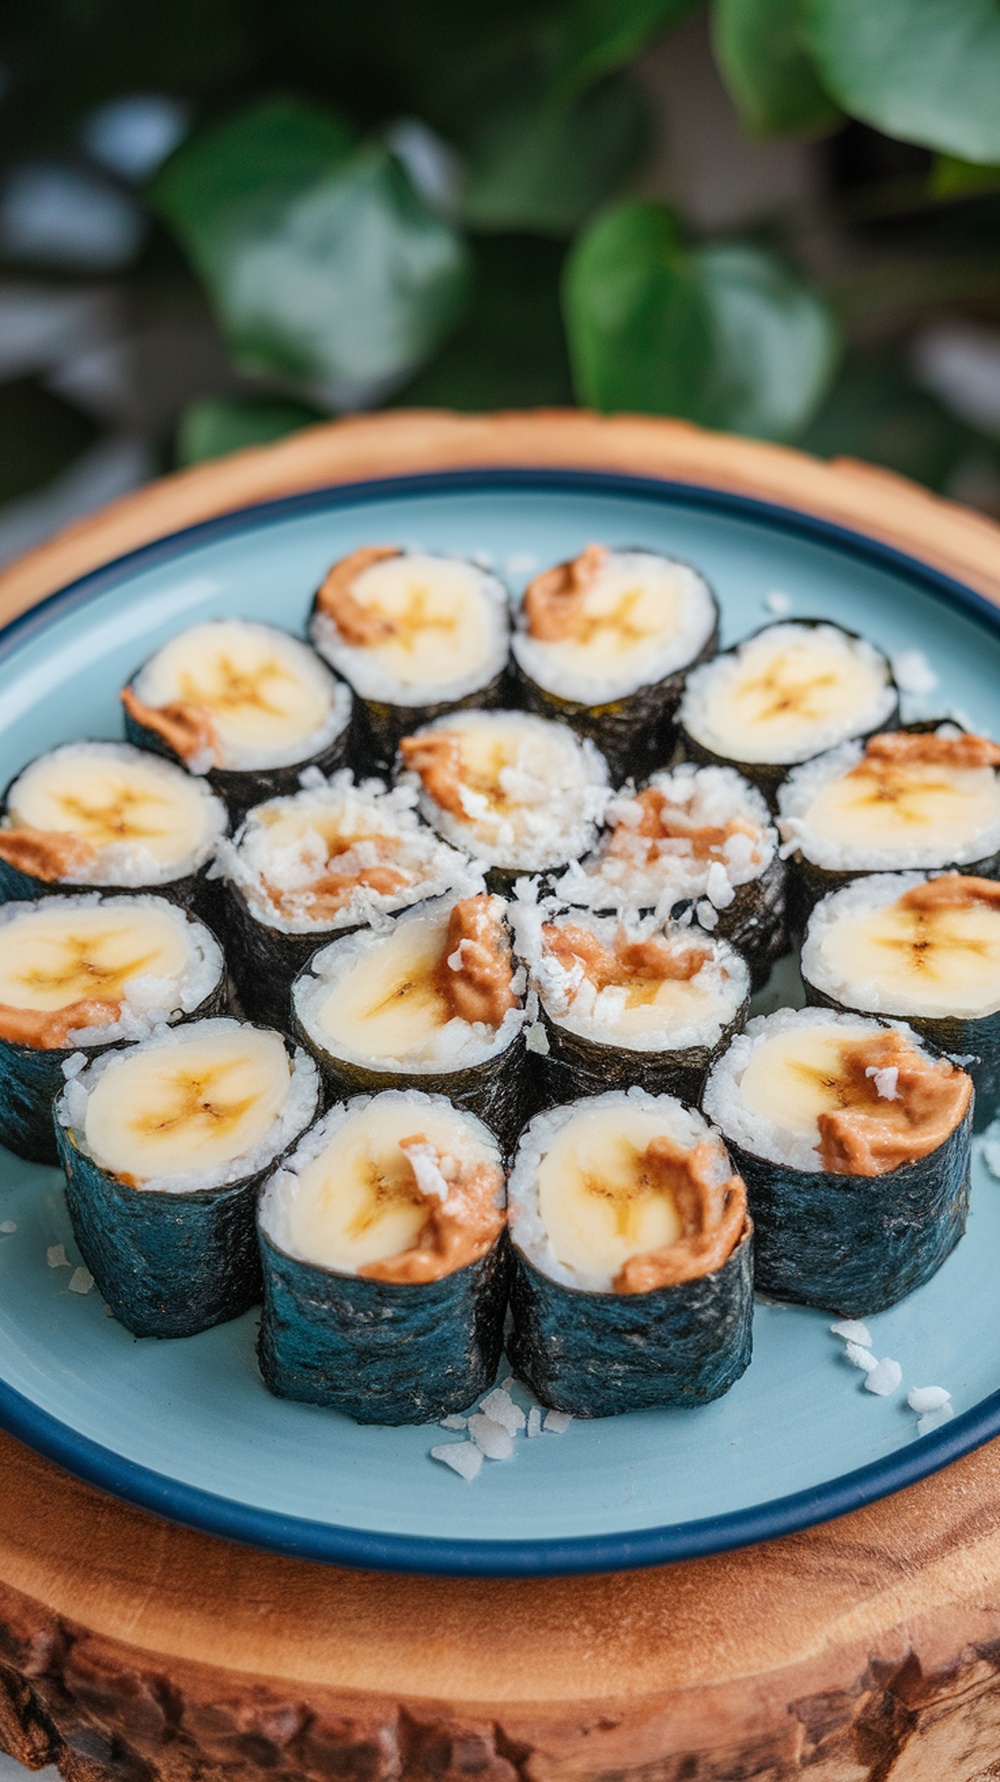
Peanut Butter Banana Sushi Rolls are a fun and tasty treat that kids love. This recipe is simple, making it perfect for little hands to help out in the kitchen. The combination of creamy peanut butter and sweet banana wrapped in rice and seaweed is sure to please even the pickiest eaters.
To make these rolls, start by spreading peanut butter on a sheet of sushi rice. Place a banana at one end and roll it up tightly. Slice the roll into bite-sized pieces for easy eating. These sushi rolls are not only delicious but also a great way to sneak in some fruit!
Serve them as a snack or a fun lunch option. Kids can even customize their rolls with different spreads or toppings. It’s a creative way to enjoy a classic flavor combination!
Rainbow Fruit Salad
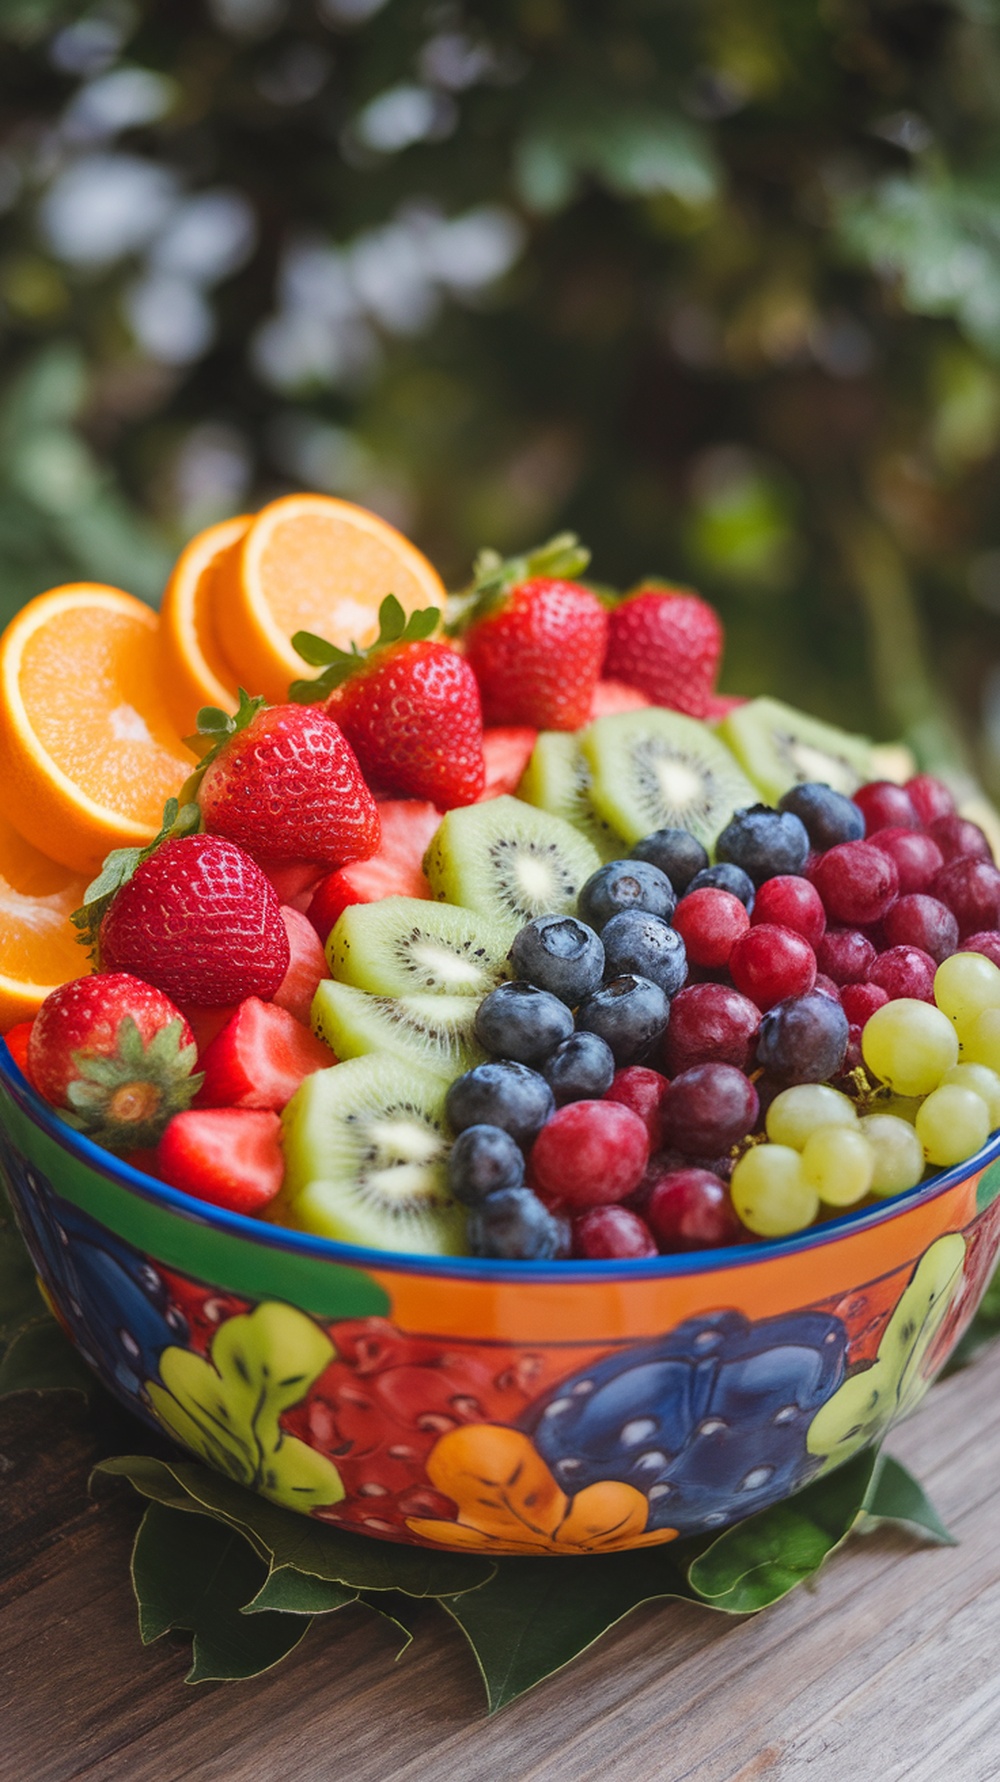
Rainbow fruit salad is a fun and colorful dish that kids love. It’s not just pretty to look at; it’s also packed with vitamins and minerals. The bright colors of the fruits make it appealing, especially for picky eaters. When you present a rainbow of fruits, it’s hard for kids to resist!
This salad is perfect for summer days. You can serve it as a snack, dessert, or even a side dish at picnics and barbecues. Plus, it’s super easy to make. Just chop up some fresh fruits and arrange them in a bowl. You can even let the kids help with the preparation!
Here’s how to make your own rainbow fruit salad:
Ingredients
- 1 cup strawberries, sliced
- 1 cup blueberries
- 1 cup kiwi, peeled and sliced
- 1 cup green grapes, halved
- 1 cup watermelon, cubed
- 1 cup orange slices
Instructions
- Start by washing all the fruits thoroughly.
- Slice the strawberries and kiwi, and cube the watermelon.
- In a large bowl, layer the fruits in the order of the rainbow: strawberries, oranges, kiwi, blueberries, grapes, and watermelon.
- Serve immediately or chill in the fridge for a refreshing treat.
Cheesy Broccoli Rice Casserole
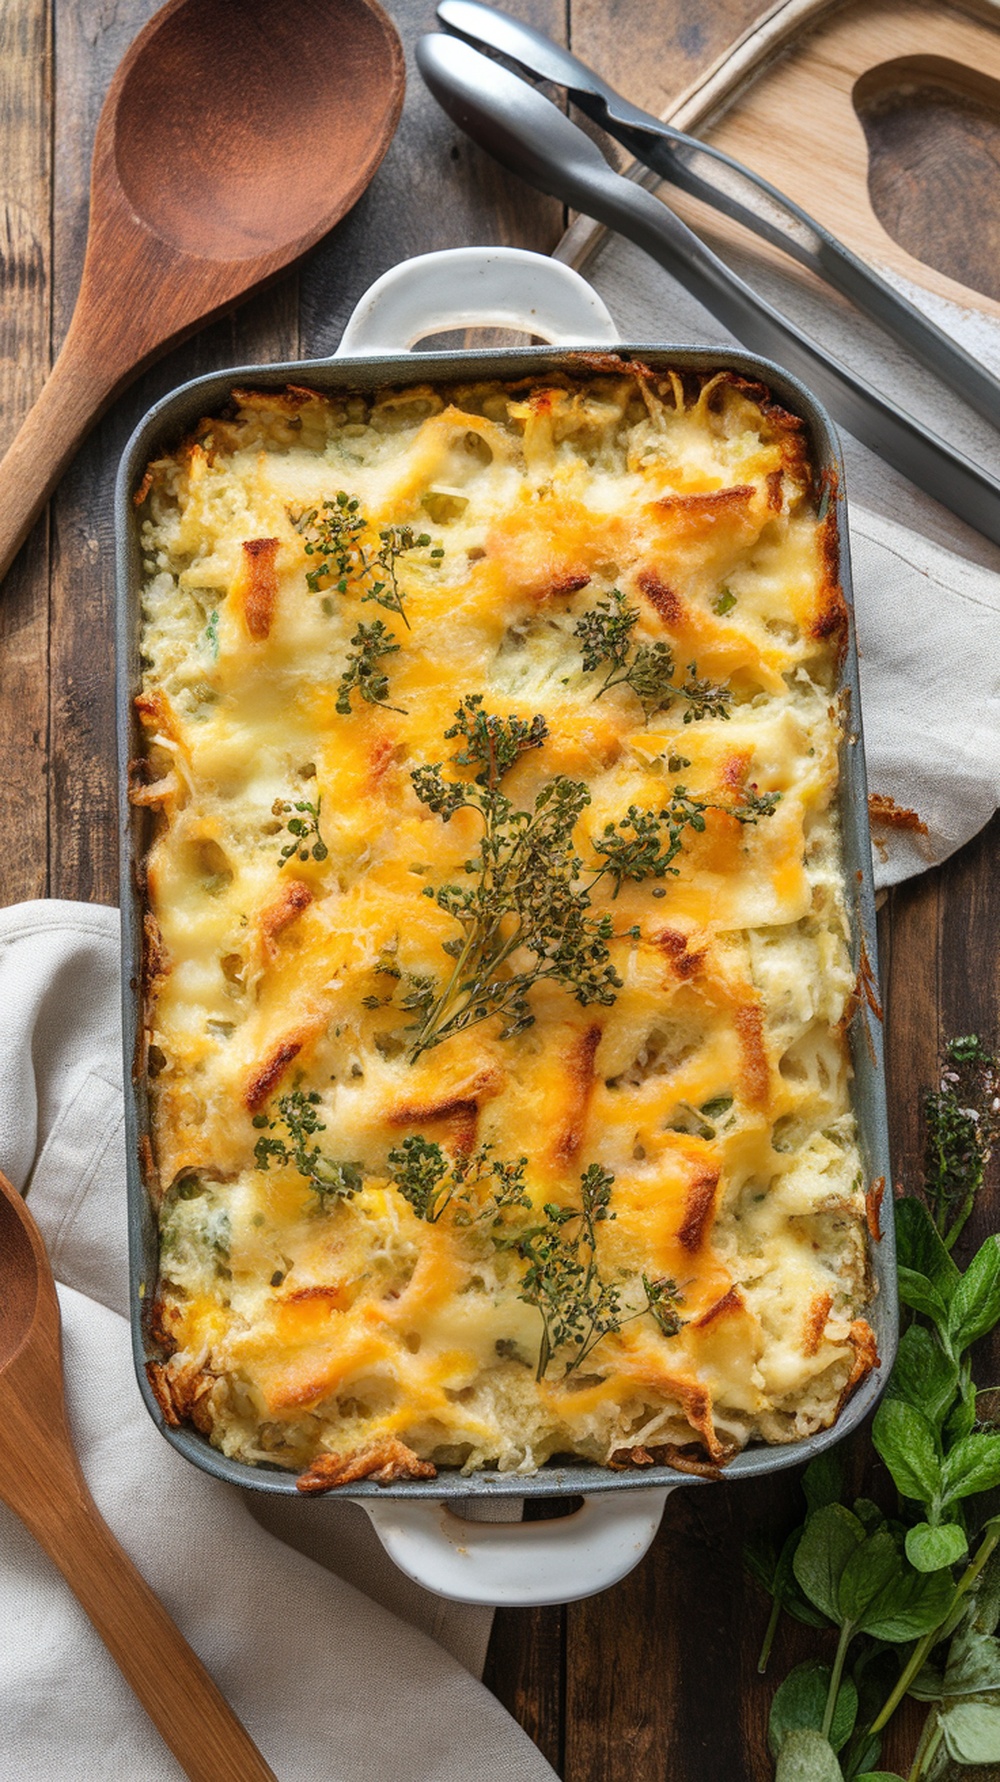
Cheesy Broccoli Rice Casserole is a fantastic dish that even picky eaters will love. This recipe combines tender broccoli, creamy cheese, and fluffy rice into a warm, comforting meal. It’s perfect for summer gatherings or a quick weeknight dinner.
The casserole is topped with melted cheese, creating a delicious golden crust. Fresh herbs add a pop of color and flavor, making it visually appealing as well. It’s a great way to sneak in some veggies without the fuss!
Here’s how to make this delightful dish that the kids will enjoy:
Ingredients
- 2 cups cooked rice
- 2 cups broccoli florets
- 1 cup shredded cheddar cheese
- 1 cup cream of mushroom soup
- 1/2 cup milk
- 1/2 teaspoon garlic powder
- 1/2 teaspoon onion powder
- Salt and pepper to taste
- 1/2 cup breadcrumbs (optional)
Instructions
- Preheat your oven to 350°F (175°C).
- In a large bowl, mix the cooked rice, broccoli, cream of mushroom soup, milk, garlic powder, onion powder, salt, and pepper until well combined.
- Transfer the mixture to a greased baking dish. Spread it evenly.
- Sprinkle the shredded cheddar cheese on top. If using, add breadcrumbs for extra crunch.
- Bake for 25-30 minutes, or until the cheese is bubbly and golden brown.
- Let it cool for a few minutes before serving. Enjoy your cheesy goodness!
Homemade Chicken Nuggets
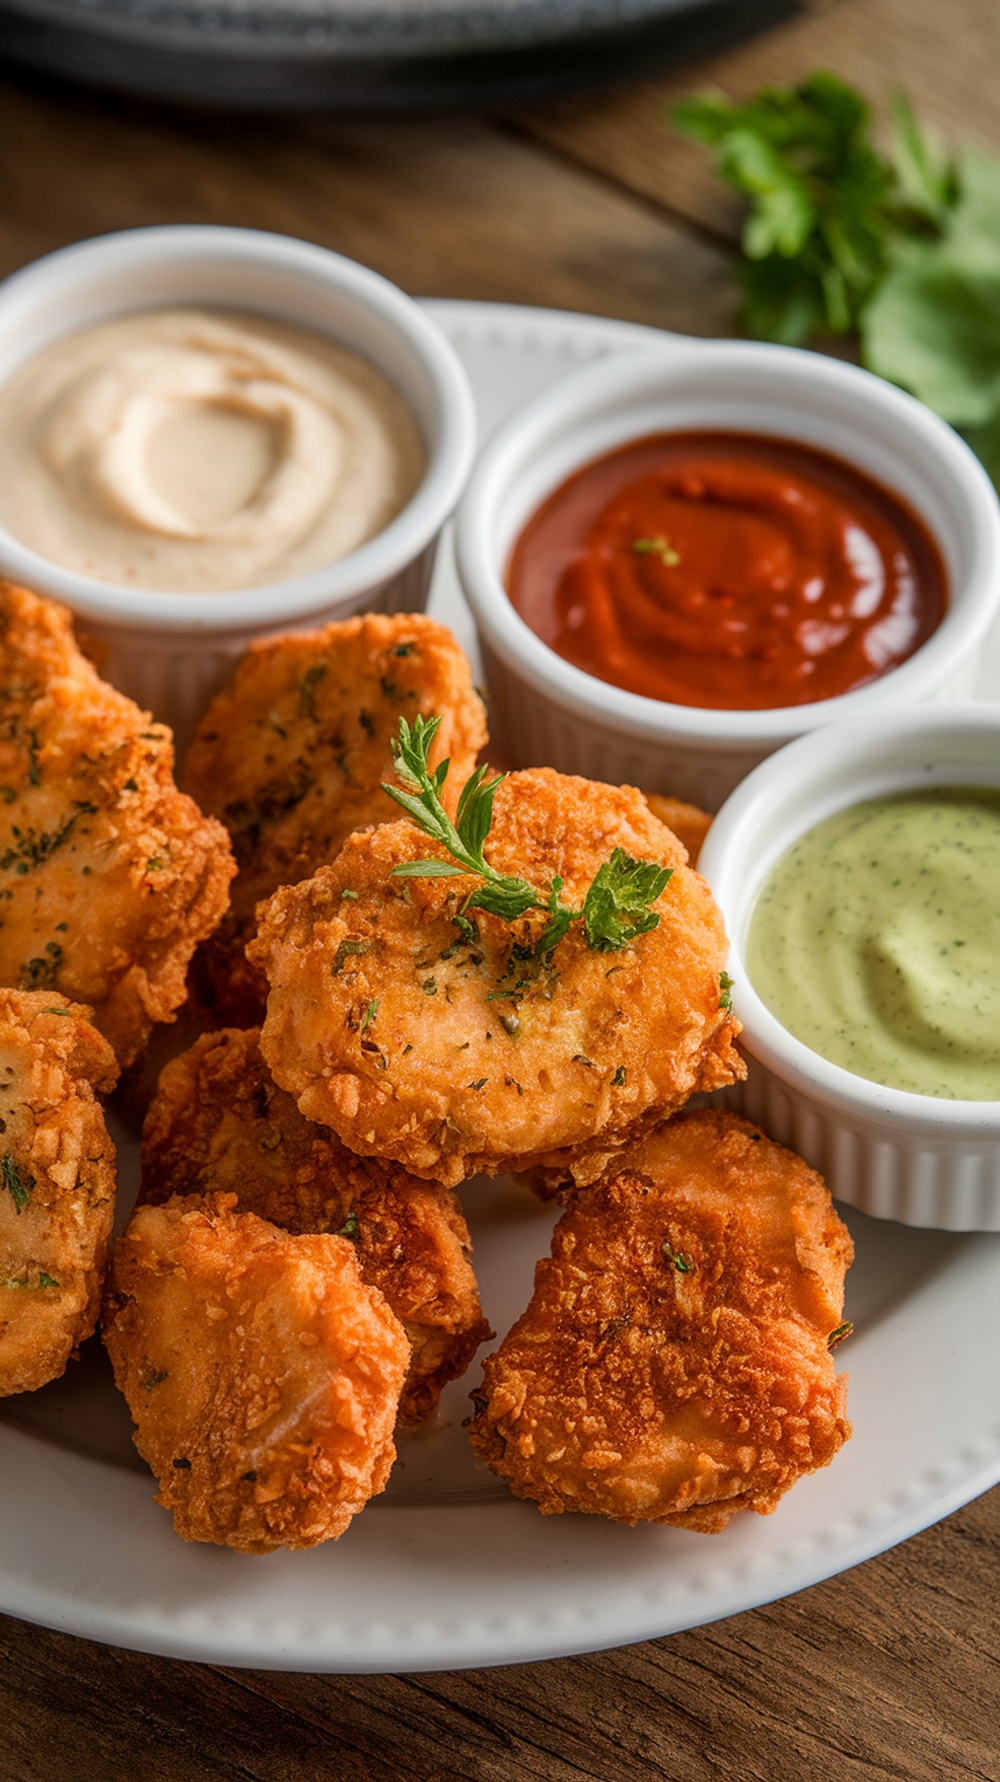
Homemade chicken nuggets are a hit with kids and adults alike. They are crispy on the outside and tender on the inside, making them perfect for picky eaters. You can serve them with a variety of dipping sauces, like ketchup, ranch, or honey mustard, which adds to the fun!
Making these nuggets at home is simple and allows you to control the ingredients. You can use chicken breast or thighs, and season them to your liking. Plus, kids can help with the breading process, making it a fun family activity.
Here’s how to whip up these delicious nuggets:
Ingredients
- 1 pound chicken breast, cut into bite-sized pieces
- 1 cup breadcrumbs
- 1/2 cup all-purpose flour
- 2 large eggs
- 1 teaspoon garlic powder
- 1 teaspoon onion powder
- 1 teaspoon paprika
- Salt and pepper to taste
- Oil for frying
Instructions
- Prepare the Breading: Set up three bowls. In the first bowl, place the flour. In the second bowl, beat the eggs. In the third bowl, mix the breadcrumbs with garlic powder, onion powder, paprika, salt, and pepper.
- Coat the Chicken: Dip each piece of chicken first in the flour, then in the egg, and finally in the breadcrumb mixture. Make sure each piece is well-coated.
- Heat the Oil: In a large skillet, heat about 1/2 inch of oil over medium heat. You can test if the oil is ready by dropping in a breadcrumb; if it sizzles, it’s good to go.
- Fry the Nuggets: Carefully place the coated chicken pieces in the hot oil. Fry for about 4-5 minutes on each side or until golden brown and cooked through. Remove and drain on paper towels.
- Serve: Enjoy your homemade chicken nuggets with your favorite dipping sauces!
Veggie-Loaded Smoothies
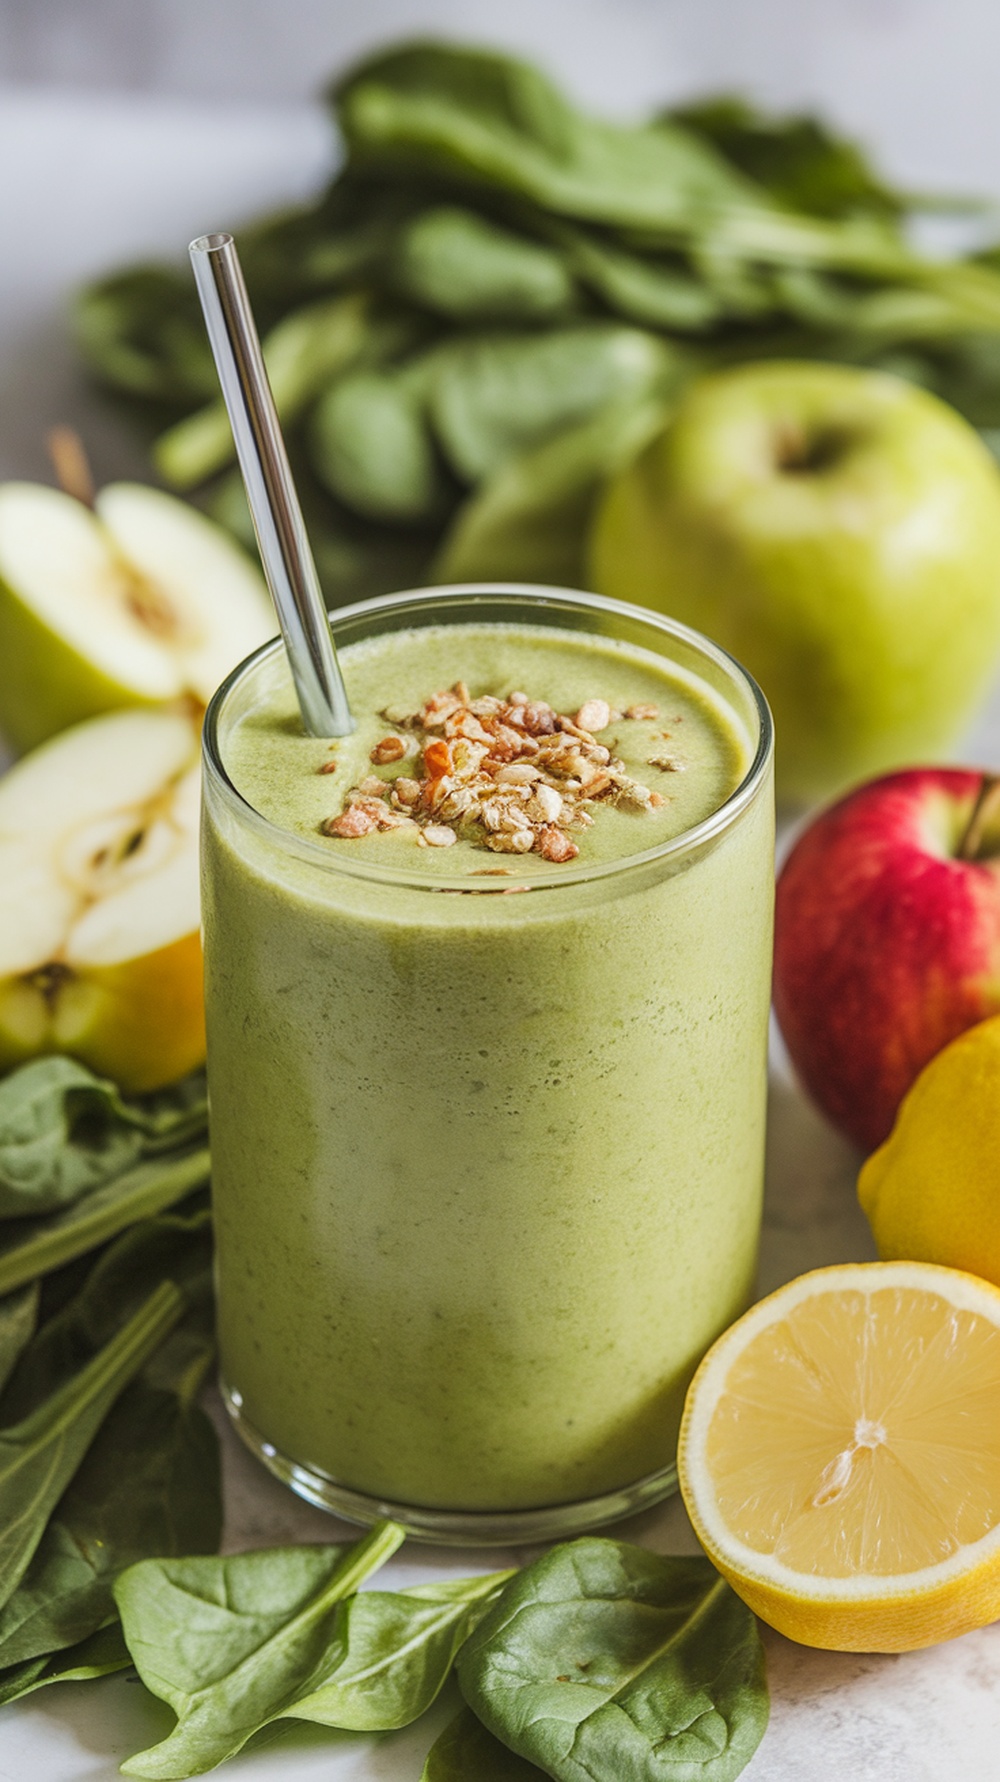
Veggie-loaded smoothies are a fantastic way to sneak in some greens while keeping things tasty. They are perfect for those hot summer days when kids might not want to eat their veggies. Instead, they can sip on a delicious drink that’s packed with nutrients.
In the image, you can see a vibrant green smoothie made with fresh spinach, apples, and a hint of lemon. The bright colors make it visually appealing, and the addition of crunchy toppings adds texture. This smoothie is not just pretty; it’s also a great way to get kids excited about healthy eating.
To make a veggie-loaded smoothie, you can mix various fruits and vegetables. Spinach is a favorite because it blends well and has a mild flavor. Apples add sweetness, while lemon gives a refreshing zing. You can also throw in some yogurt for creaminess or even a scoop of nut butter for added protein.
Ingredients
- 1 cup fresh spinach
- 1 green apple, cored and chopped
- 1/2 banana
- 1/2 cup yogurt (plain or flavored)
- 1/2 cup almond milk (or any milk of choice)
- Juice of 1/2 lemon
- 1 tablespoon honey (optional)
- Granola or nuts for topping
Instructions
- Blend the spinach, apple, banana, yogurt, almond milk, and lemon juice in a blender until smooth.
- Taste and add honey if you prefer it sweeter.
- Pour into a glass and top with granola or nuts for a fun crunch.
- Serve immediately and enjoy!
Follow us on Social Media!
I’m Nina, and I’m very passionate about spirituality. Exploring the depths of the soul and connecting with the divine has always been my source of inspiration. Join me on a journey of self-discovery and inner peace through my writing.

