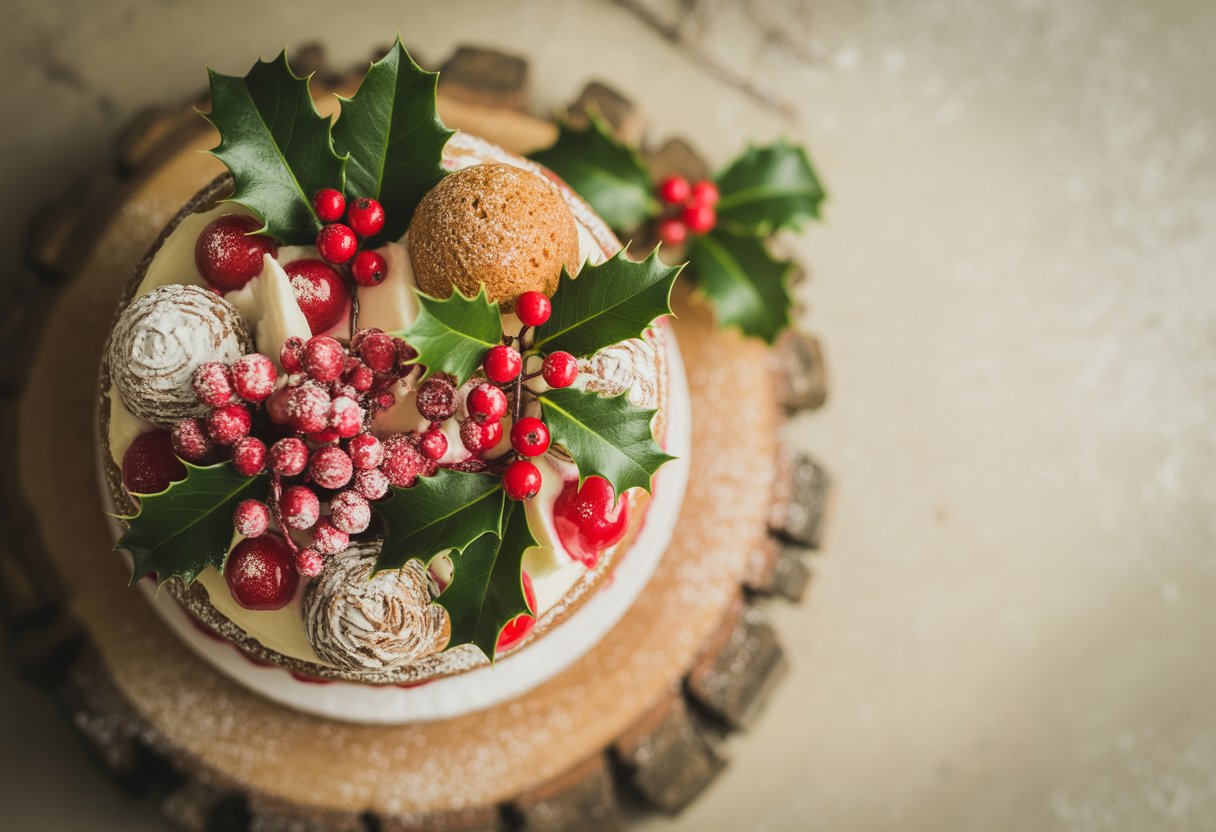
Christmas cake decorating gives you so many ways to create a show-stopping centerpiece. When you pick the right cake design, your dessert table instantly feels more festive.
It doesn’t matter if you’re gathering with family or friends—these cakes can really set the mood.

Here are five Christmas cake designs that mix classic flavors with eye-catching decorations. You’ll find everything from rich chocolate logs to playful character cakes. Each one brings a different vibe, so you can pick what suits your style and baking confidence.
Classic Yule Log Cake with Chocolate Ganache

The Yule Log cake, or Bûche de Noël, brings a cozy, old-school charm to your Christmas spread. This dessert uses a soft chocolate sponge rolled up with creamy filling, then gets slathered in chocolate ganache.
When you finish, it actually looks like a little log. The spiral inside makes every slice look gorgeous. People usually can’t help but admire it before digging in.
Rolling the cake while it’s warm really matters here. That’s what keeps the spiral neat and stops cracks. The mascarpone whipped cream filling gives it richness but doesn’t feel too heavy.
Complete List of Ingredients:
For the chocolate sponge cake:
- 6 large eggs, separated
- 3/4 cup granulated sugar, divided
- 1/3 cup unsweetened cocoa powder
- 1/4 cup all-purpose flour
- 1/4 teaspoon salt
- 1 teaspoon vanilla extract
For the mascarpone whipped cream filling:
- 8 oz mascarpone cheese, softened
- 1 cup heavy whipping cream
- 1/3 cup powdered sugar
- 1 teaspoon vanilla extract
For the chocolate ganache:
- 8 oz dark chocolate, chopped
- 1 cup heavy cream
- 2 tablespoons butter
- Powdered sugar for dusting
Numbered Step by Step Cooking Instructions:
- Preheat oven to 375°F. Line a 15×10-inch jelly roll pan with parchment and grease it.
- Beat egg yolks and 1/2 cup sugar until thick and pale yellow. This takes about 3-4 minutes.
- Sift cocoa, flour, and salt together. Fold them into the yolk mixture with the vanilla.
- In a clean bowl, beat egg whites until soft peaks form. Add the rest of the sugar and beat to stiff peaks.
- Fold a third of the egg whites into the chocolate mix to lighten it. Gently fold in the rest.
- Spread the batter in your pan. Bake 12-15 minutes—when you press it, it should spring back.
- While it bakes, lay out a clean kitchen towel and dust it with powdered sugar.
- Turn out the hot cake onto the towel right after it comes out. Peel off the parchment.
- Roll up the cake (short end first) in the towel while it’s warm. Let it cool rolled up.
- For the filling, beat mascarpone until smooth. In another bowl, whip cream with powdered sugar and vanilla.
- Fold the whipped cream into the mascarpone. The filling should be smooth and easy to spread.
- Unroll the cooled cake gently. Spread the filling over it, leaving a 1-inch border.
- Roll the cake up again (without the towel). Wrap in plastic and chill at least 2 hours.
- To make ganache, put chocolate in a bowl. Heat cream until it simmers.
- Pour hot cream over chocolate. Let it sit 2 minutes, then stir until smooth.
- Stir in butter until melted. Let ganache cool about 15 minutes so it thickens.
- Take cake from fridge, unwrap, and trim the ends for a neat log.
- Place cake on a plate. Spread ganache all over and use a fork to make bark-like lines.
- Chill 30 minutes to set the ganache. Dust with powdered sugar for a snowy look.
- Slice with a sharp knife, wiping between cuts. Serve cold and let everyone admire that spiral.
Santa Claus Shaped Red Velvet Cake
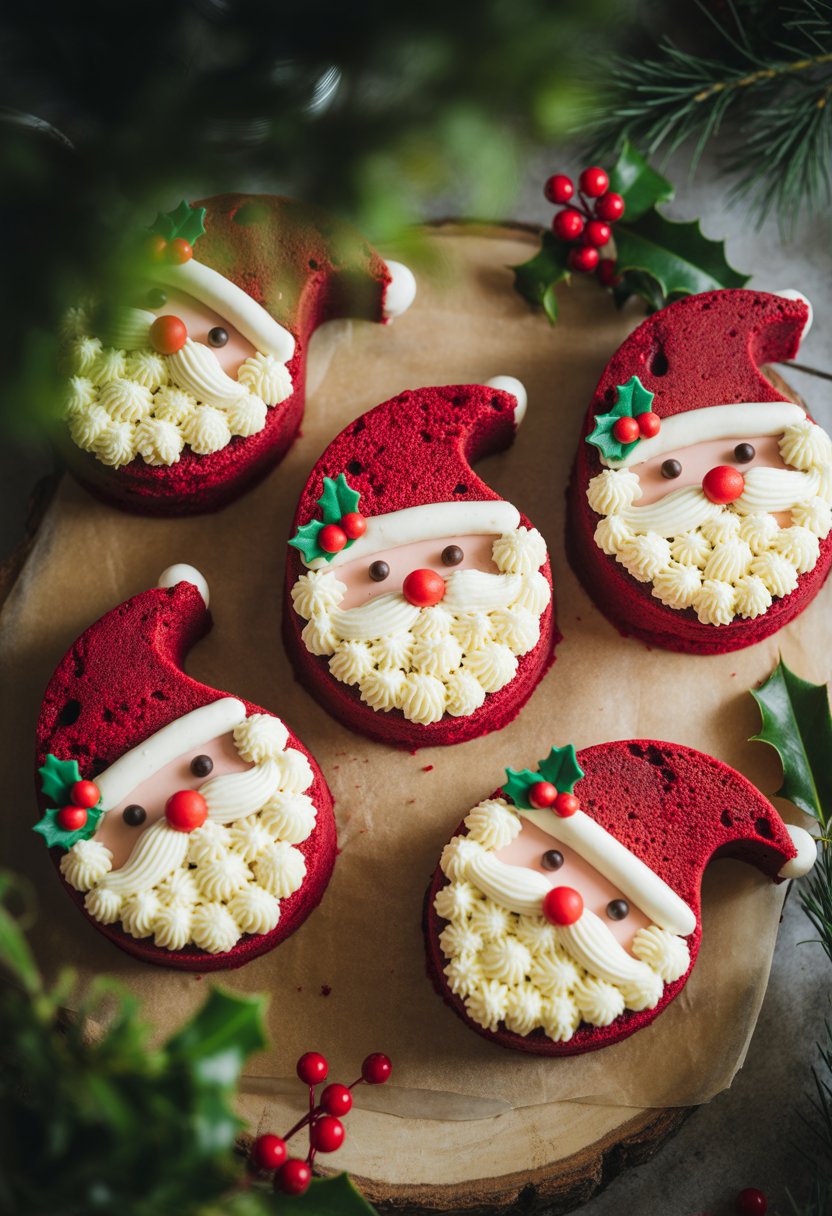
You get a super festive vibe with this Santa Claus red velvet cake. The deep red color just screams Christmas, right?
To make Santa’s face, you’ll use a round cake layer as the base. The red velvet’s color works perfectly for this design.
Complete List of Ingredients
- 2½ cups all-purpose flour
- 1½ cups granulated sugar
- 1 cup buttermilk
- ½ cup vegetable oil
- 2 large eggs
- 2 tablespoons red food coloring
- 1 tablespoon cocoa powder
- 1 teaspoon vanilla extract
- 1 teaspoon baking soda
- 1 teaspoon white vinegar
- ½ teaspoon salt
- 8 oz cream cheese, softened
- ½ cup butter, softened
- 4 cups powdered sugar
- Red gel food coloring
- Pink gel food coloring
- Coconut flakes for beard
- Mini marshmallows
Numbered Step by Step Cooking Instructions
- Preheat oven to 350°F. Grease two 9-inch round pans.
- Mix flour, cocoa, and salt in a bowl.
- In another bowl, whisk sugar, oil, eggs, buttermilk, vanilla, and red coloring.
- Combine wet and dry ingredients until just mixed.
- Stir baking soda into vinegar, then fold into the batter.
- Pour batter into pans. Bake 25-30 minutes.
- Let cakes cool on racks before removing.
- Beat cream cheese and butter for frosting until fluffy.
- Add powdered sugar gradually, beating until smooth.
- Divide frosting into three: keep one white, tint one pink, one red.
- Put one cake layer on a plate, frost the top.
- Stack the second layer, cover lower two-thirds with pink frosting for Santa’s face.
- Use red frosting on the top third for his hat.
- Pipe white frosting along the hat edge and add a marshmallow for the pompom.
- Sprinkle coconut flakes on the bottom for Santa’s beard.
- Dot on rosy cheeks with red frosting and add chocolate chips for eyes.
Gingerbread House Cake with Royal Icing

This cake gives you classic gingerbread flavor and the charm of tiny houses. It’s a real centerpiece—people always stop to look.
You’ll stack spiced gingerbread cake with royal icing, then decorate the top with little gingerbread houses.
Complete List of Ingredients
For the gingerbread cake:
- 2½ cups all-purpose flour
- 1 teaspoon baking soda
- 2 teaspoons ground ginger
- 1 teaspoon ground cinnamon
- ½ teaspoon ground cloves
- ½ teaspoon salt
- ½ cup unsalted butter, softened
- ½ cup brown sugar
- 1 cup molasses
- 1 large egg
- 1 cup hot water
For the royal icing:
- 3 large egg whites
- 4 cups powdered sugar
- ½ teaspoon vanilla extract
For decorating:
- Small gingerbread cookies shaped like houses
- Assorted candies for decoration
- Green food coloring
- Pink food coloring
Numbered Step by Step Cooking Instructions
- Preheat your oven to 350°F. Grease two 9-inch pans.
- Mix flour, baking soda, ginger, cinnamon, cloves, and salt.
- Cream butter and brown sugar until light.
- Beat in molasses and egg.
- Add dry mixture and hot water alternately, starting and ending with dry.
- Pour into pans and bake 30-35 minutes, until a toothpick comes out clean.
- Cool in pans 10 minutes, then turn out to cool completely.
- For icing, beat egg whites until foamy. Gradually add powdered sugar and vanilla until stiff peaks form.
- Tint some icing green and pink for details.
- Place a cake layer on a plate, spread a thin layer of white icing.
- Add the second layer, cover the whole cake with more icing.
- Decorate gingerbread house cookies with colored icing—add doors, windows, roof lines.
- Let cookies dry 30 minutes.
- Arrange the cookies on top of the cake to make a little village.
- Scatter candy decorations around the base and on the cake for a winter wonderland feel.
Snowy Winter Scene Cake with Edible Snowflakes
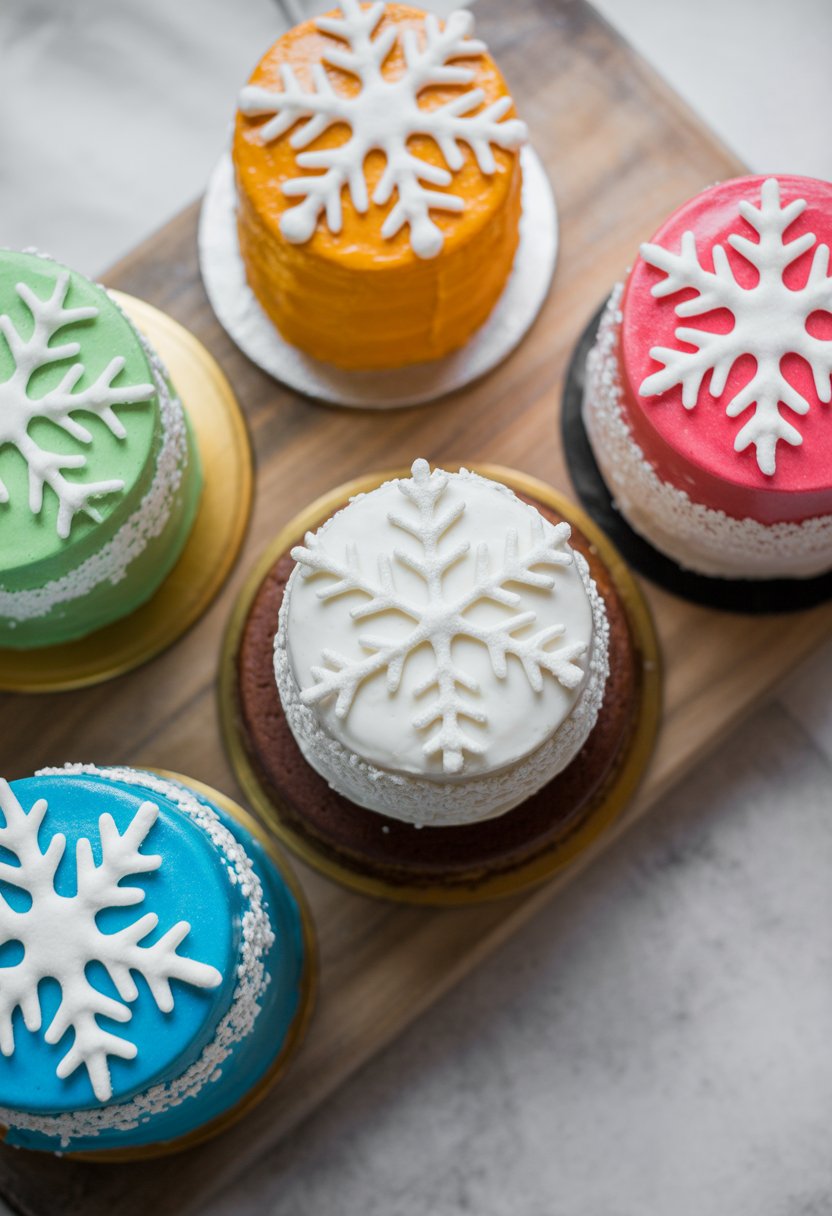
This cake looks like a snowy wonderland—so pretty for winter. You’ll cover it in delicate edible snowflakes and sparkling sugar.
The design is simple but really elegant. Buttercream and sugar decorations make it feel magical.
Complete List of Ingredients
- 2 round vanilla cake layers (8-inch)
- 4 cups vanilla buttercream frosting
- 1 cup powdered sugar for dusting
- 2 tablespoons white chocolate, melted
- 1 teaspoon vanilla extract
- Silver pearl dust
- Edible white chocolate snowflakes (store-bought or homemade)
- White sugar crystals
- Clear piping gel
- Food-safe silver glitter
Numbered Step by Step Cooking Instructions
- Level the cooled cake layers and set the first layer on your plate. Spread a thin layer of buttercream between them.
- Cover the whole cake with vanilla buttercream. Chill 30 minutes.
- Mix melted white chocolate and vanilla, then brush it over the frosted surface for shine.
- Dust the cake with powdered sugar for a snowy look. Let some fall down the sides.
- Arrange chocolate snowflakes on the cake, pressing them in gently. Mix up the sizes for interest.
- Sprinkle white sugar crystals around the snowflakes for a sparkling, snowy effect.
- Mix silver pearl dust with clear piping gel to make edible paint. Brush shimmer onto a few snowflakes.
- Finish with a light dusting of silver glitter for extra magic.
Layered Fruitcake with Marzipan and Almonds
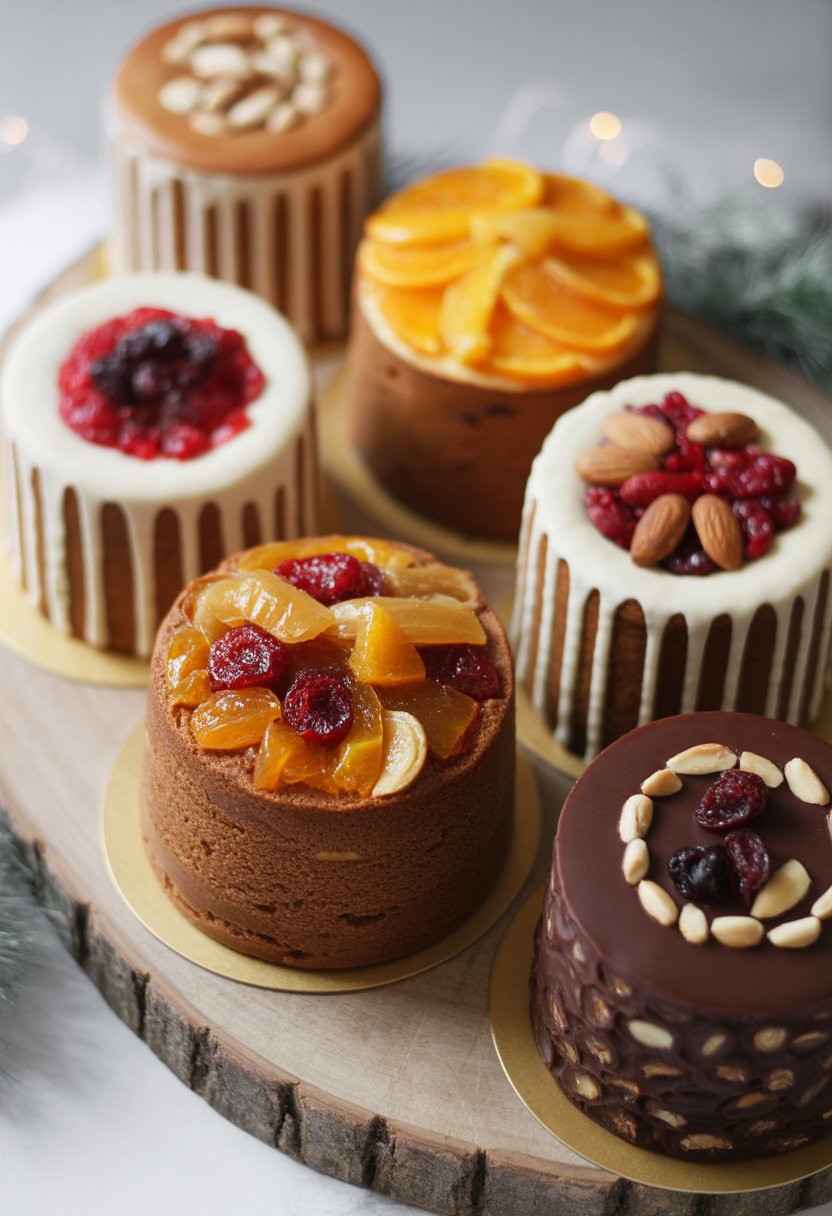
This fruitcake stacks rich, spiced layers with sweet marzipan for a classic Christmas treat. Almonds on top give it a lovely look and a bit of crunch.
You’ll use marzipan both inside and on top, which keeps the cake moist and adds a festive touch.
Complete List of Ingredients
For the Fruitcake:
- 2 cups all-purpose flour
- 1 cup butter, softened
- 3/4 cup brown sugar
- 4 large eggs
- 1 cup mixed dried fruits (raisins, currants, candied cherries)
- 1/2 cup chopped walnuts
- 1/4 cup brandy or rum
- 1 tsp vanilla extract
- 1/2 tsp ground cinnamon
- 1/4 tsp ground nutmeg
- 1/4 tsp ground cloves
- 1/2 tsp baking powder
- 1/4 tsp salt
For Assembly:
- 8 oz marzipan, divided
- 1/2 cup sliced almonds
- 1/4 cup whole blanched almonds
- 2 tbsp apricot jam
- Powdered sugar for dusting
Numbered Step by Step Cooking Instructions
- Go ahead and preheat your oven to 325°F. Grease a 9-inch round cake pan while you’re at it.
- Pour the mixed dried fruits into a bowl and cover them with brandy. Let them soak for about 30 minutes—this makes the cake way more flavorful and keeps it moist.
- In another bowl, cream the butter and brown sugar together. After about 3 minutes, the mixture should look light and fluffy.
- Crack in the eggs, one by one. Beat well after each addition, then mix in the vanilla extract.
- Grab a separate bowl and mix the flour, baking powder, salt, and all your spices.
- Slowly fold the dry ingredients into the butter mixture. Stop as soon as everything comes together; don’t overmix.
- Drain off any extra brandy from the fruits. Fold the soaked fruits and chopped walnuts into your batter.
- Scoop half the batter into the greased pan. Spread it out so the surface is even.
- Roll out 4 oz of marzipan into a circle that’s just a bit smaller than your pan. Lay it gently over the batter.
- Spoon the rest of the batter on top and smooth it out. Sprinkle sliced almonds over everything.
- Slide the pan into the oven and bake for 65 to 75 minutes. Stick a toothpick near the edge—if it comes out clean, you’re good. The center might still be a little moist because of the marzipan, and that’s fine.
- Let the cake cool in the pan for about 15 minutes. Then, turn it out onto a wire rack.
- Warm up some apricot jam and brush it over the surface of the cooled cake. This step gives the cake a nice shine and helps decorations stick.
- Roll the remaining 4 oz of marzipan into small shapes, or just leave them in bigger pieces if you want a rustic vibe.
- Arrange the marzipan shapes and whole almonds on top of the glazed cake. Press them down gently so they stay put.
- Right before serving, dust the top with powdered sugar for that snowy, festive look.
Follow us on Social Media!
I’m Nina, and I’m very passionate about spirituality. Exploring the depths of the soul and connecting with the divine has always been my source of inspiration. Join me on a journey of self-discovery and inner peace through my writing.

